This is the log of building Shapeshifter - a one-off machine that is somehow both a full size vpin cabinet...
and also a sim-pit cockpit for flight simulators, racing games, and most of the sit-down arcade games.
(It's ambitious, but, I've already completed Mimic, so I think I may be able to do it.)
Previously...
Next up, work begins in earnest on the backbox region.
The backbox in this design is complicated, because it is very shallow front to back, and the majority of the back wall is
actually part of the access hatch that is removable to give you service access into the whole back cabinet. I want there
to be nothing mounted to this hatch... which means the backbox itself is pretty much a hollow ring.
I need a backglass monitor suspended in the middle of that ring.
This calls for some heavy duty brackets.
However, the brackets can't be very thick. I've got a quarter inch to spare here. So I want strength, and that means steel.
But so far, this project contains nothing that will rust... so that means stainless steel.
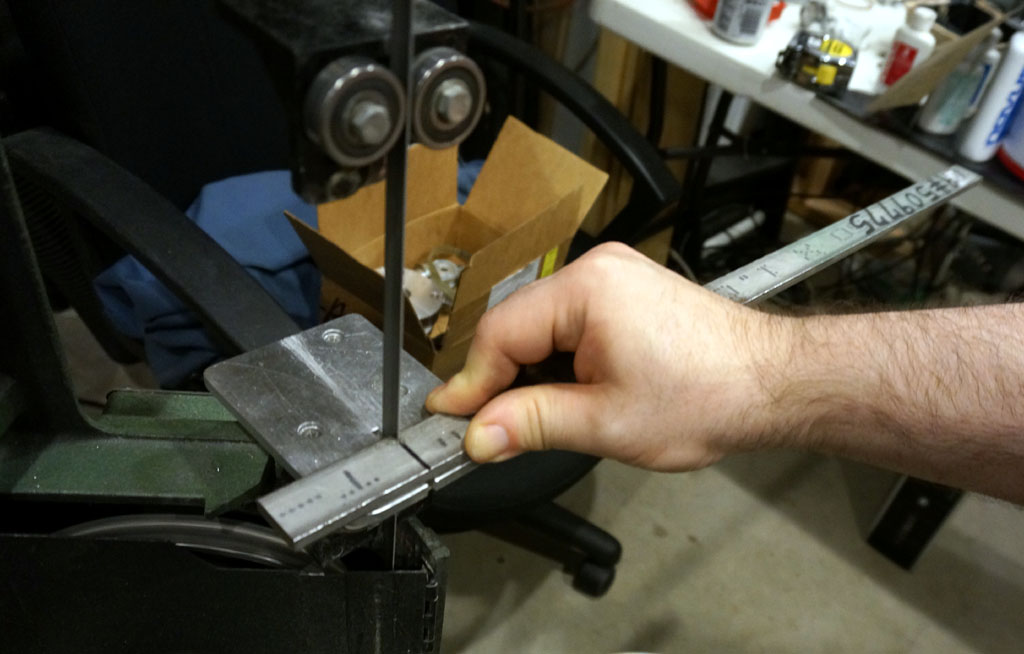
The backglass monitor mounting brackets are made of 1/4 x 1" 304 stainless. My bandsaw will cut this... slowly.
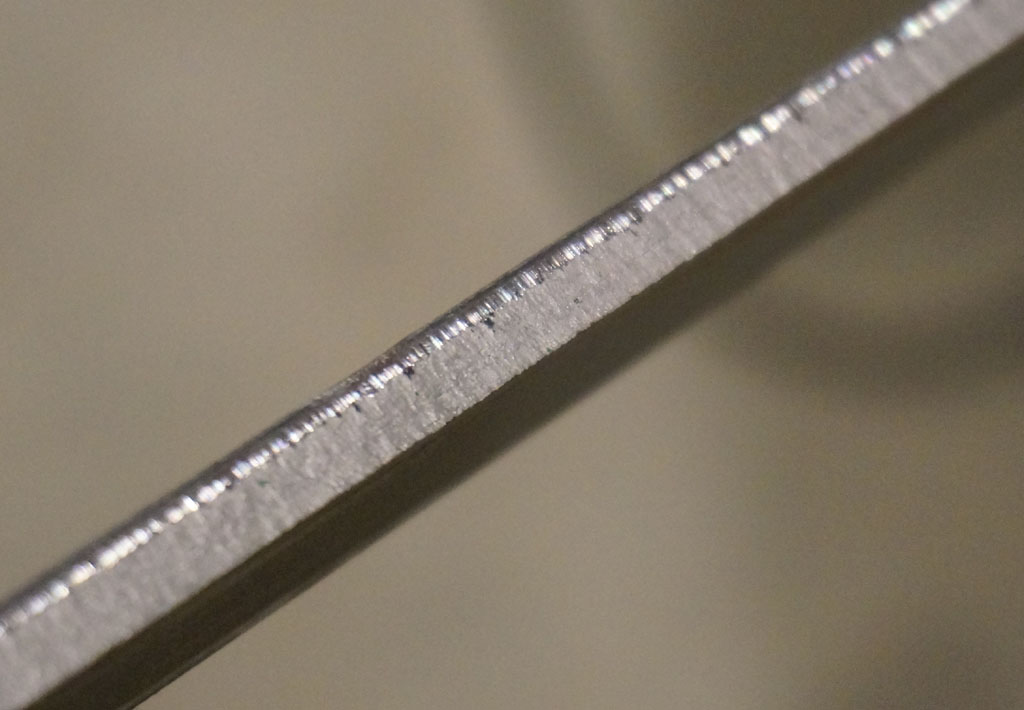
The sheared factory edges of this strap stock were pretty ugly.
(This isn't my cut, this is the manufactured edge as they came to me.)
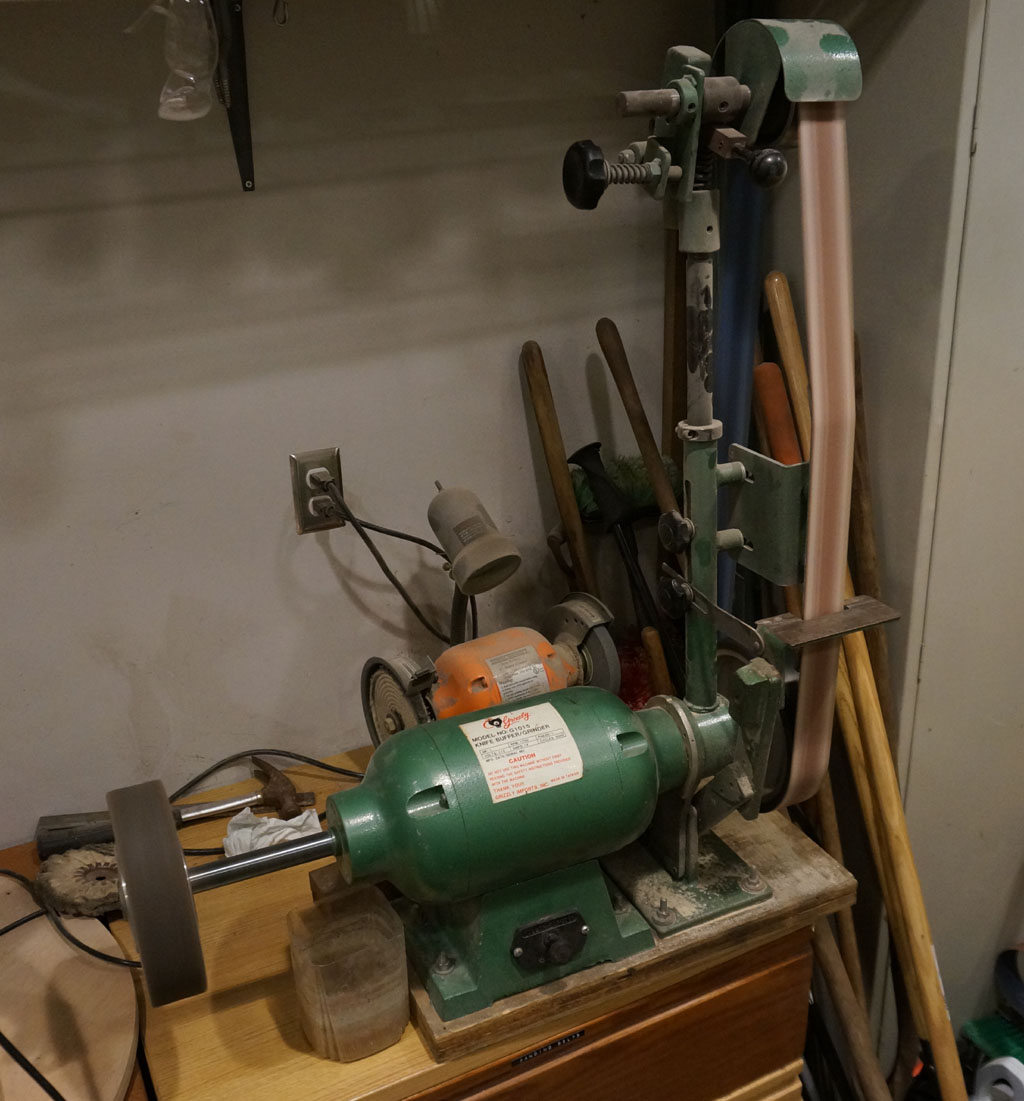
I have a 2x72 knife grinder belt sander, though. These brackets are not unlike knife blanks...
And so, a bit of grinding cleans these up..
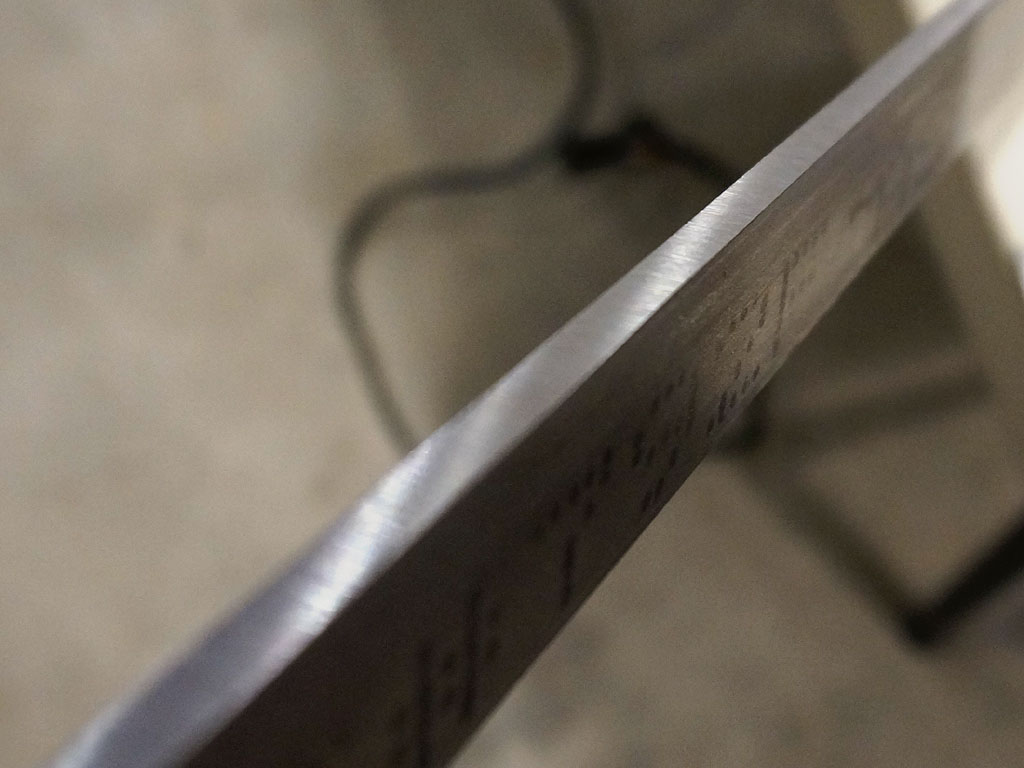
Much better edges.
Once the blanks were cleaned up to my satisfaction, it's time for layout.
The dimensions on these parts look like I'm drunk, or an idiot, or something.
The bottom screw needs to center in 3/4 plywood, so it's 3/8" up from the bottom edge.
Then you come up 11" for the DMD panel and the lower overhang of the monitor, to the next hole.
Then you come up 100mm for the VESA pattern to the next hole...
The straps are 1" wide, and need to straddle an 80mm fan, so the holes are 10mm in off the inside edges...
And so on, in a horrible hybrid of inch and metric dimensions.
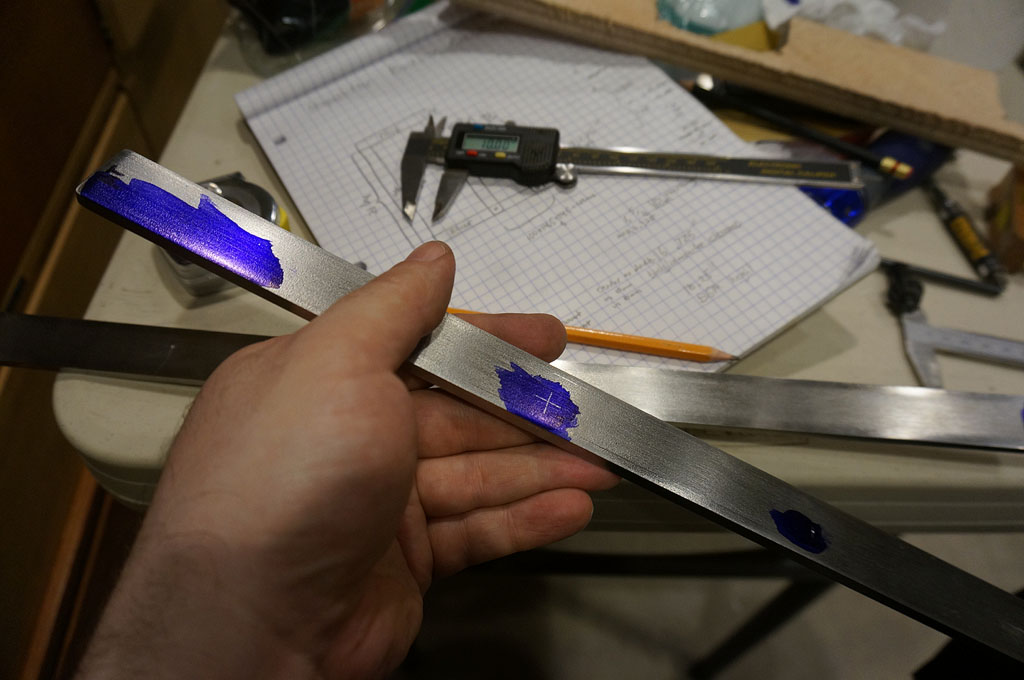
I use layout fluid and scribe through it using calipers to set my dimensions up.
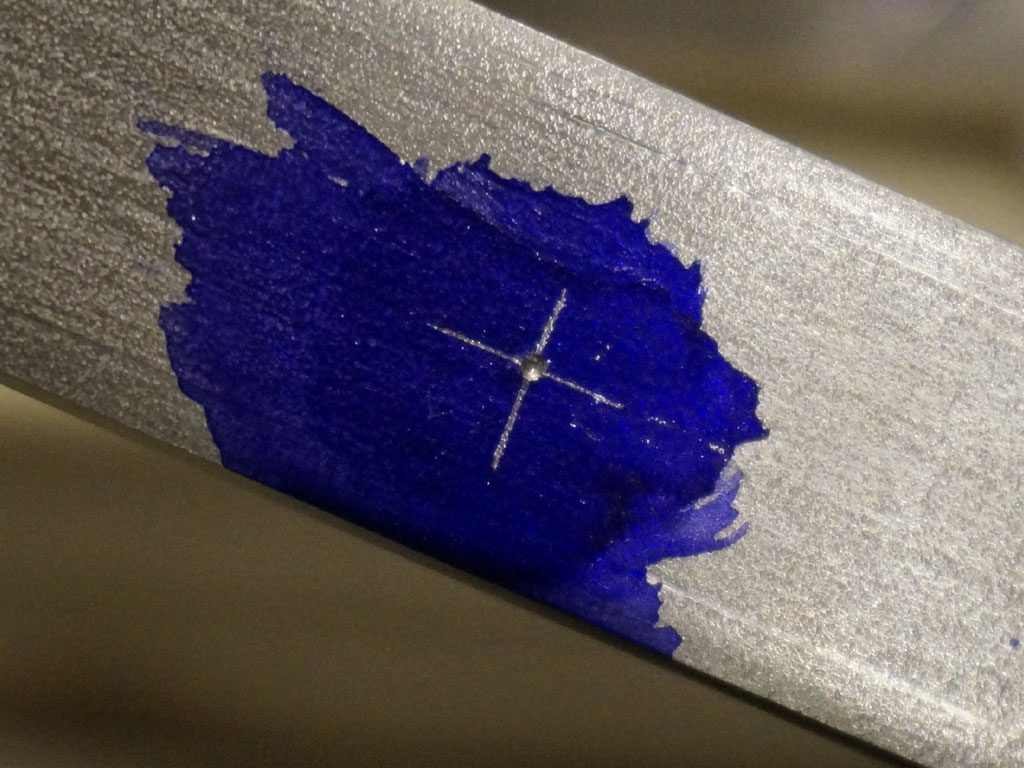
Particularly in stainless, if you want your drill to stay in the same zip code as where you started, you best centerpunch.
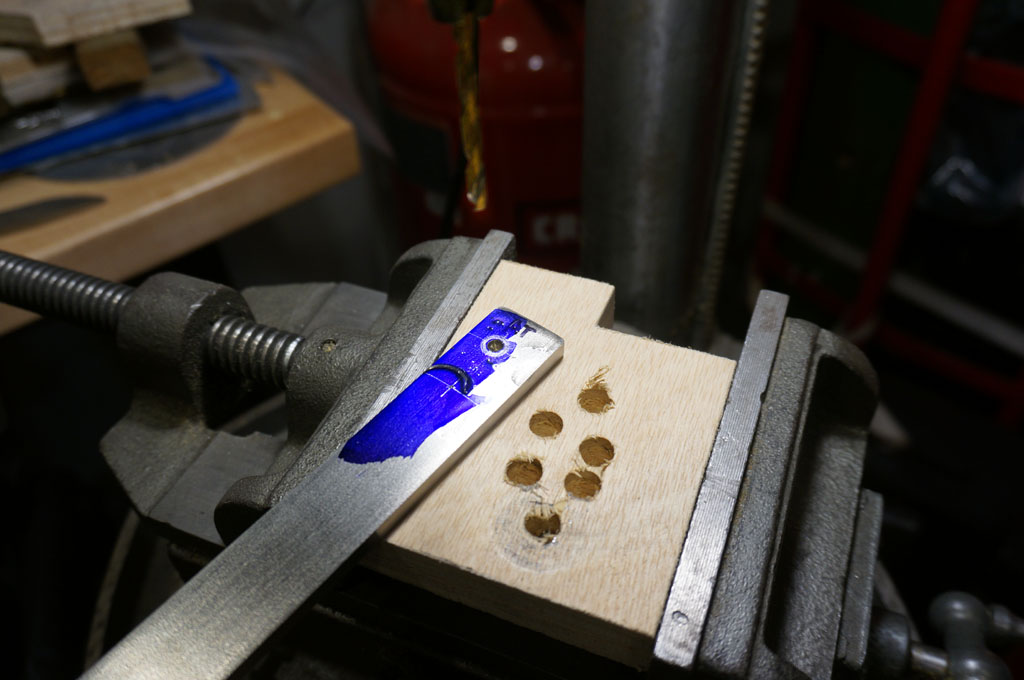
Drilling ten holes in 1/4" thick stainless is an exercise for the reader.
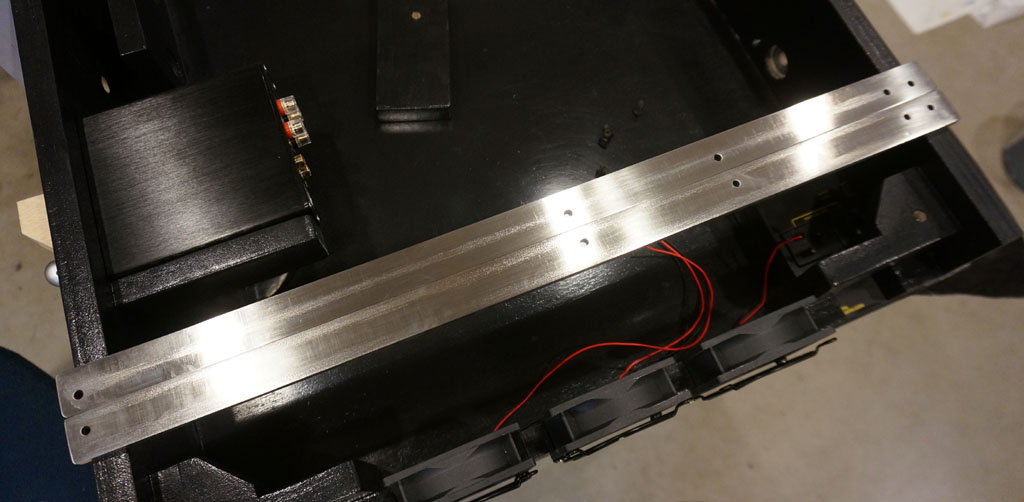
Behold! Brackets.
(The holes line up, this is just perspective parallax making it look like they don't.)
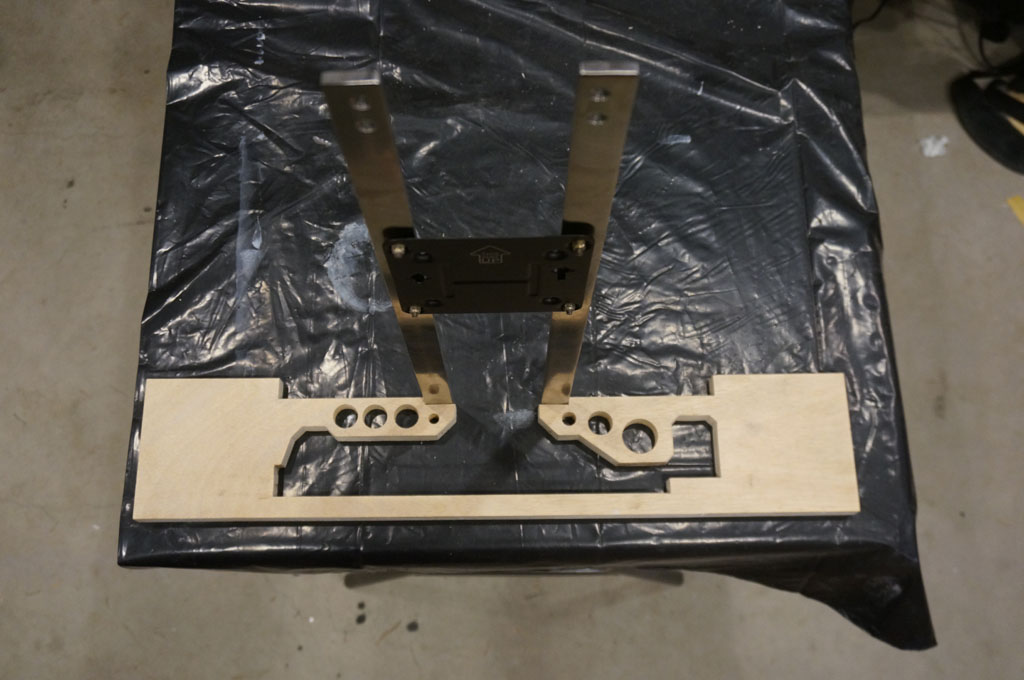
The brackets mainy hang the weight of the monitor from the roof, but the floor is the critical dimension that everything relates against.
So, I construct it bottom-up.
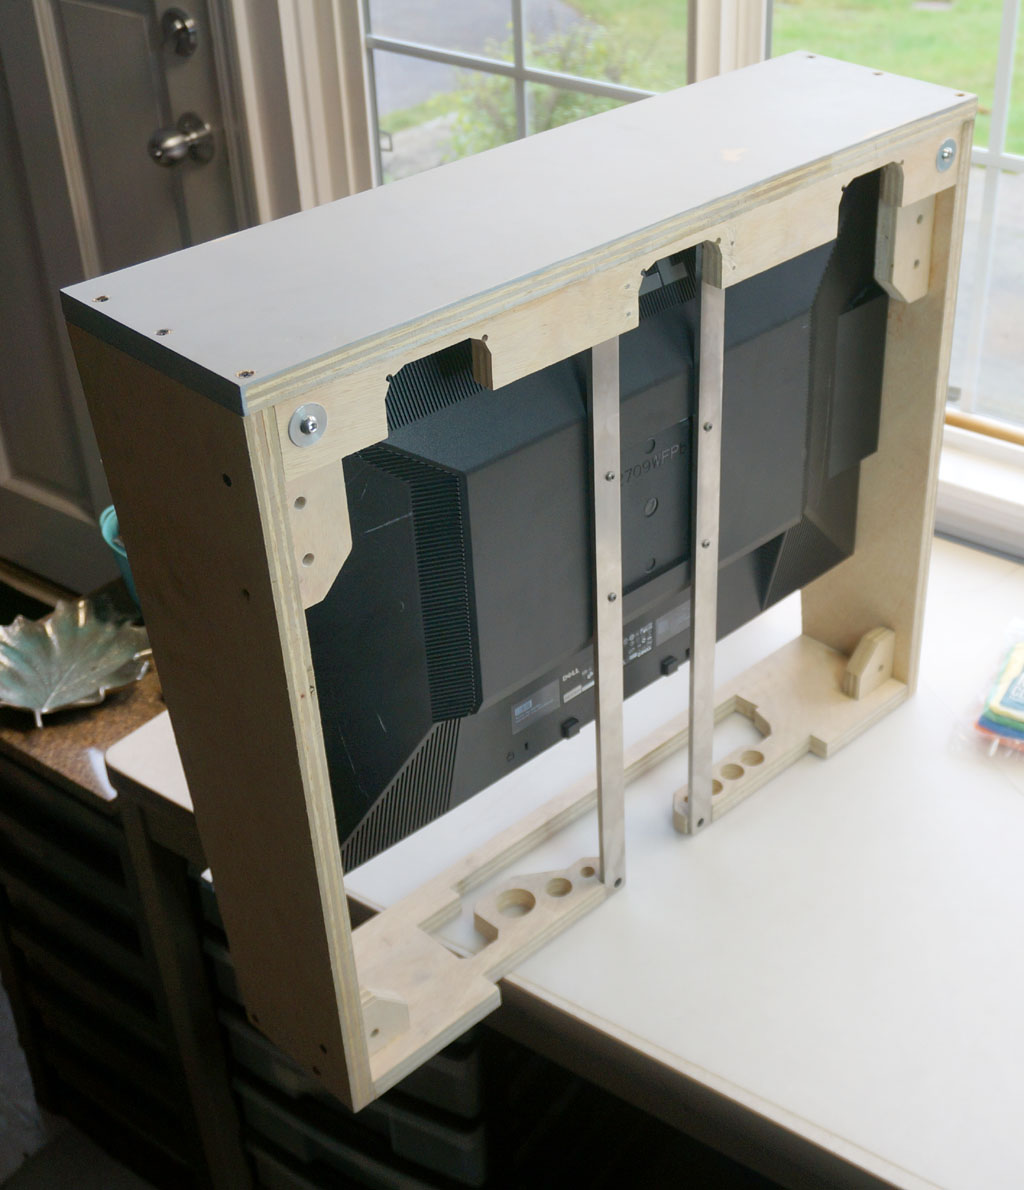
Luckily, I had a 100mm VESA mount bracket sitting around, so I used that to hold the brackets in alignment, giving me some hope that they
would still be properly aligned once tied into the rest of the structure so that the monitor would actually fit.

The backbox sides go onto the roof assembly...
and the resulting arch attaches to the floor. This sets the height for the tops of the brackets.
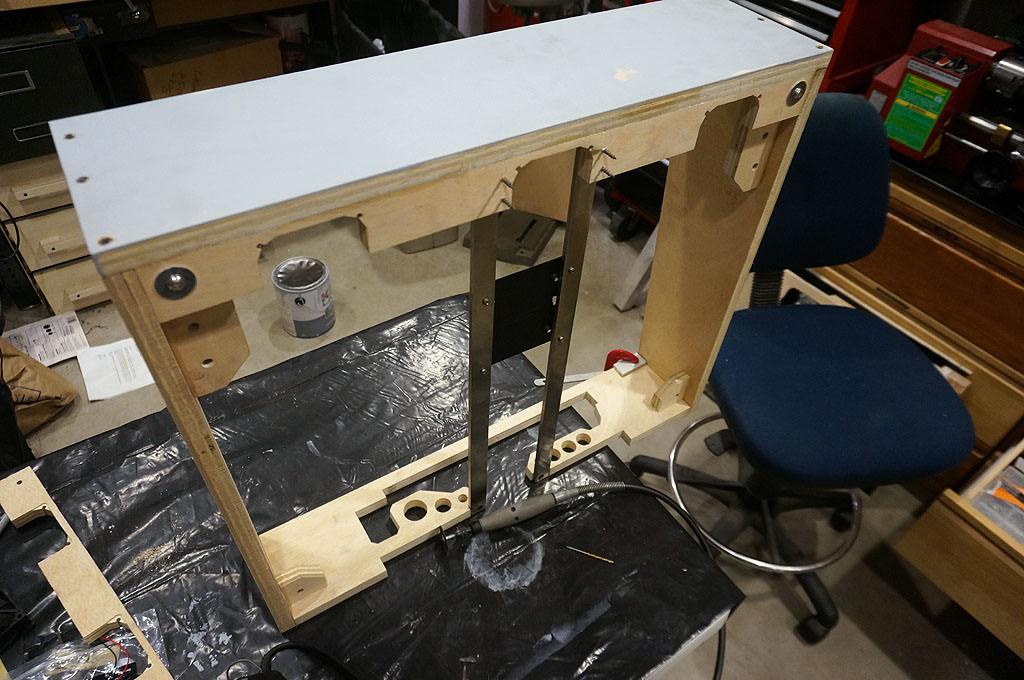
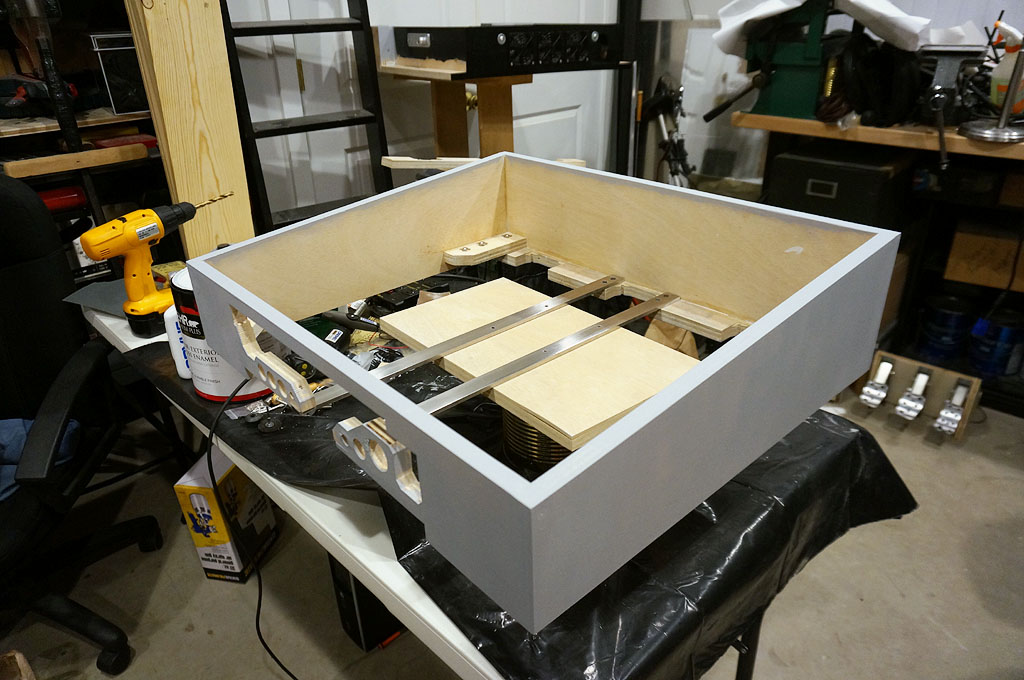
This shows the hollow ring structure pretty well - this is the structural skeleton for the whole backbox: open
to the front, so you can see the displays and hear the speakers - open to the rear, so the hatch panel can come off.
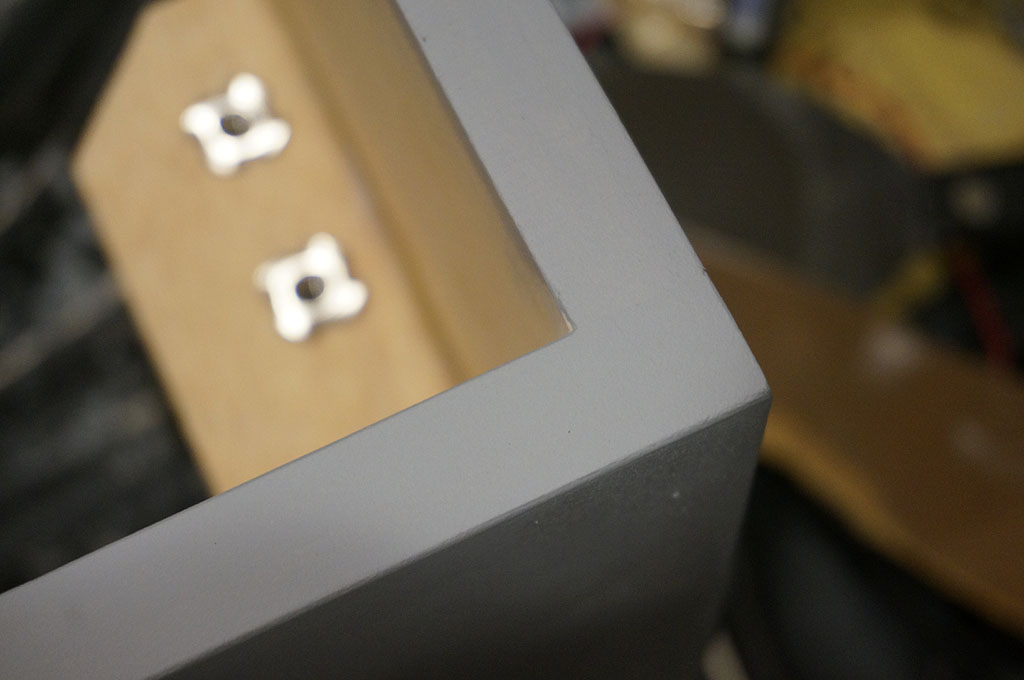
Note that the upper fan panel here has a lot of screws coming down through the roof, hidden under the primer.
I'm not actually relying on those scrawny thin bits remaining above the fans to take the load.
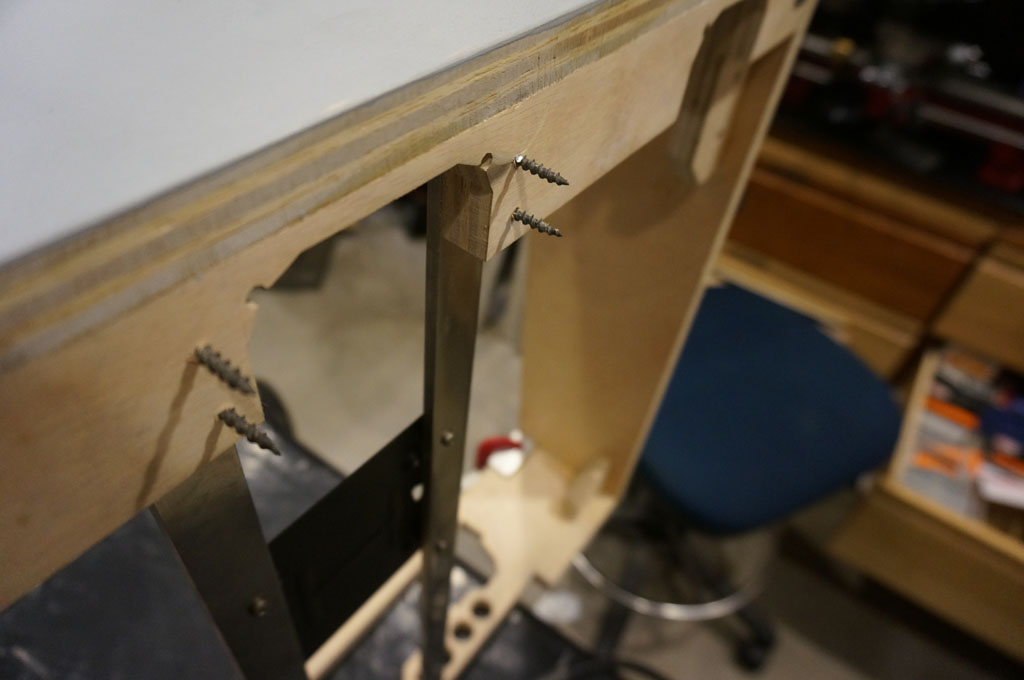
Because all the weight of the backglass monitor - which is substantial - is hanging from screws going through one 3/4" thickness of plywood,
I wanted all the strength and engagement I could possibly get. So I deliberately went with overlength screws here, so as not to lose any threads
to the taper of the point of a shorter screw. If I've got 3/4", this way I've got all 3/4" in full diameter thread.
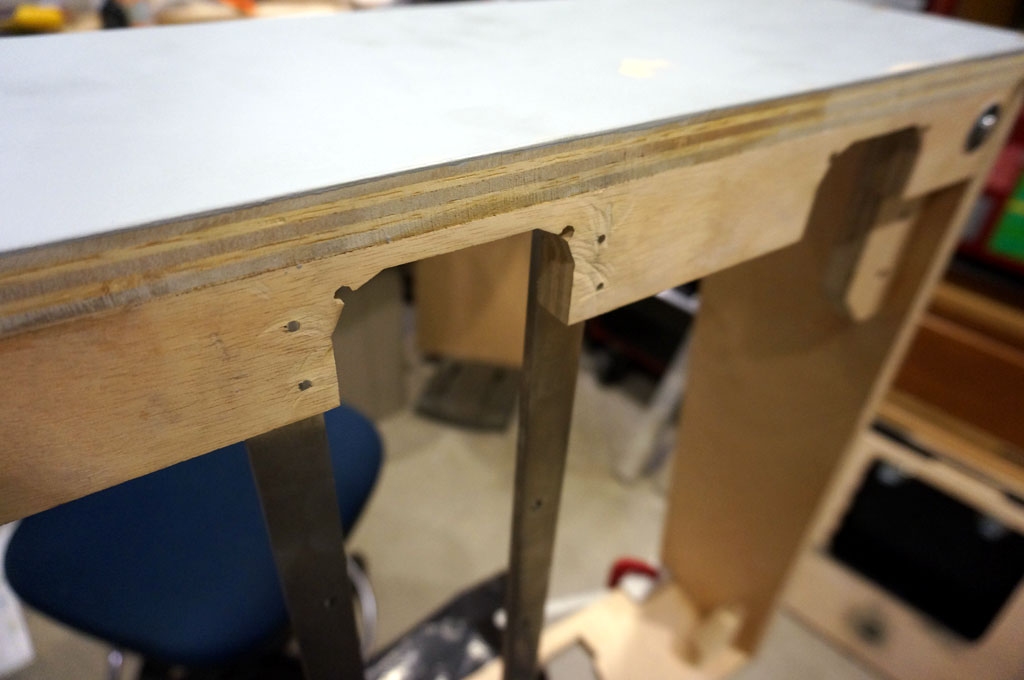
Used a cutoff wheel to dress these down a little below flush. I'll fill this back in during the upcoming bodywork before priming.
The million dollar question:
Does the monitor fit?
Yes.
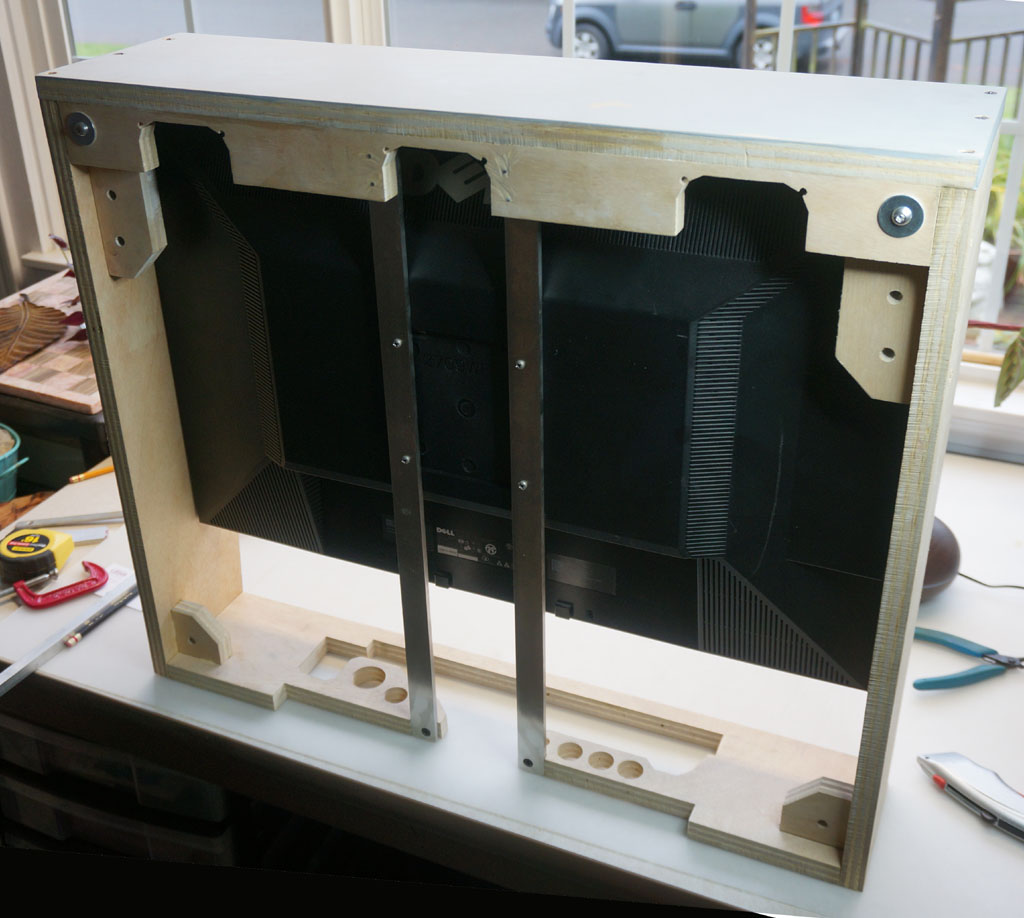
Yes it does.
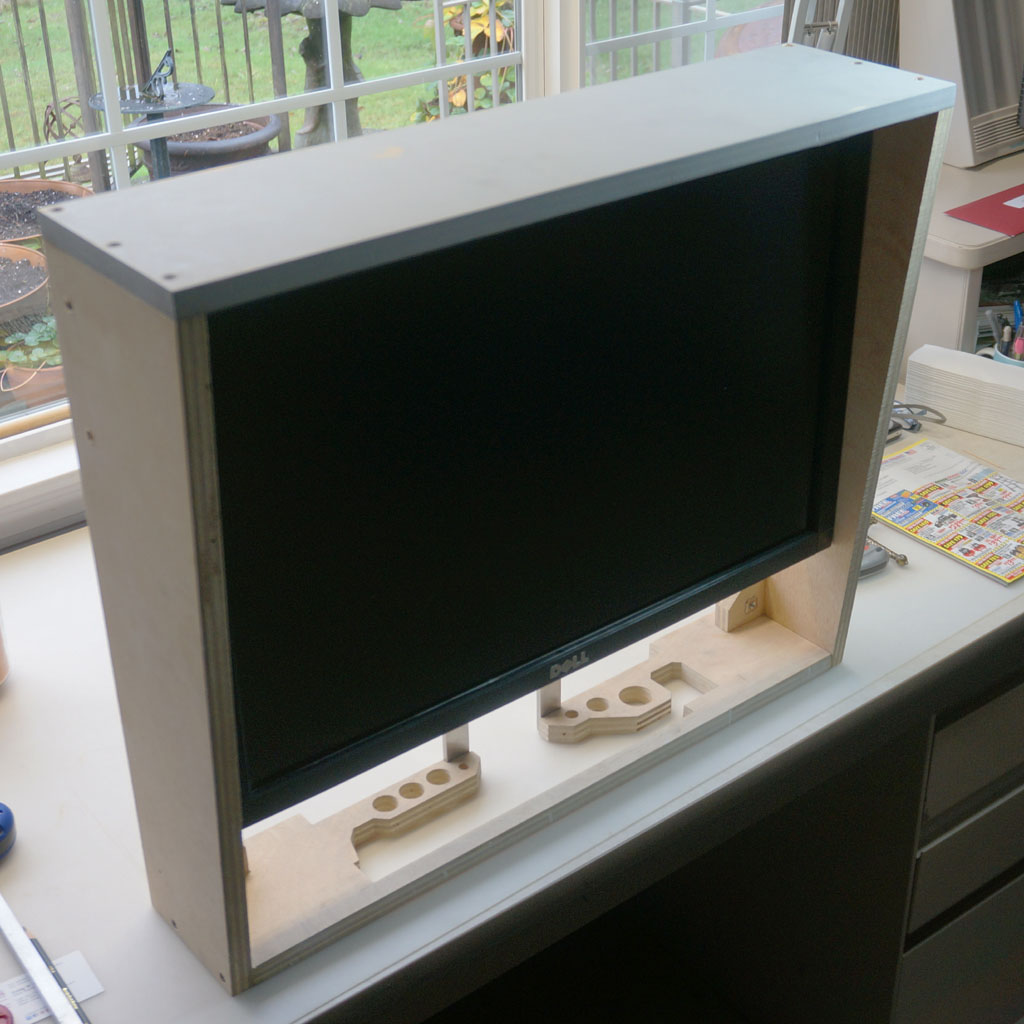
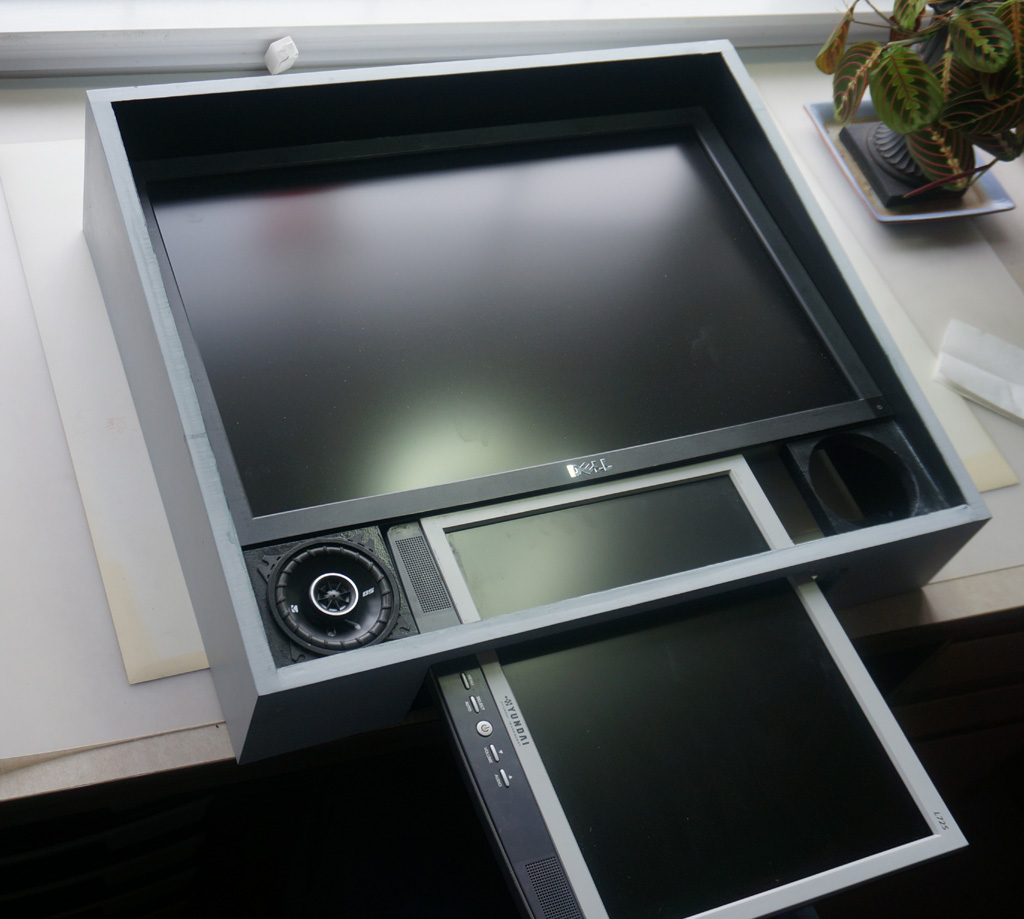
This is what it looks like from the front.
The DMD panel will slide up until it hits this monitor, in the center, the design clearance is zero.
Speakers will mount in the lower corners on either side of that.
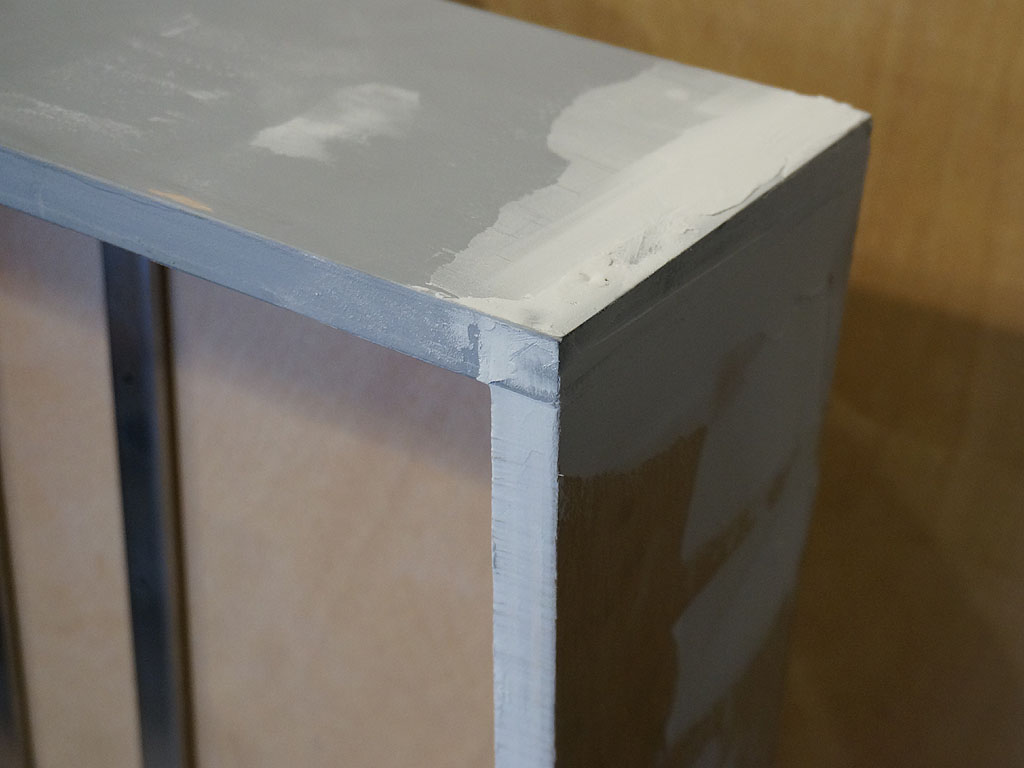
Filler. Bodywork.
This thing has way too much bodywork.
Shaped corners like this would really have been a pain to do in laminate.
Although... to be fair... it's also a pain to do this way.
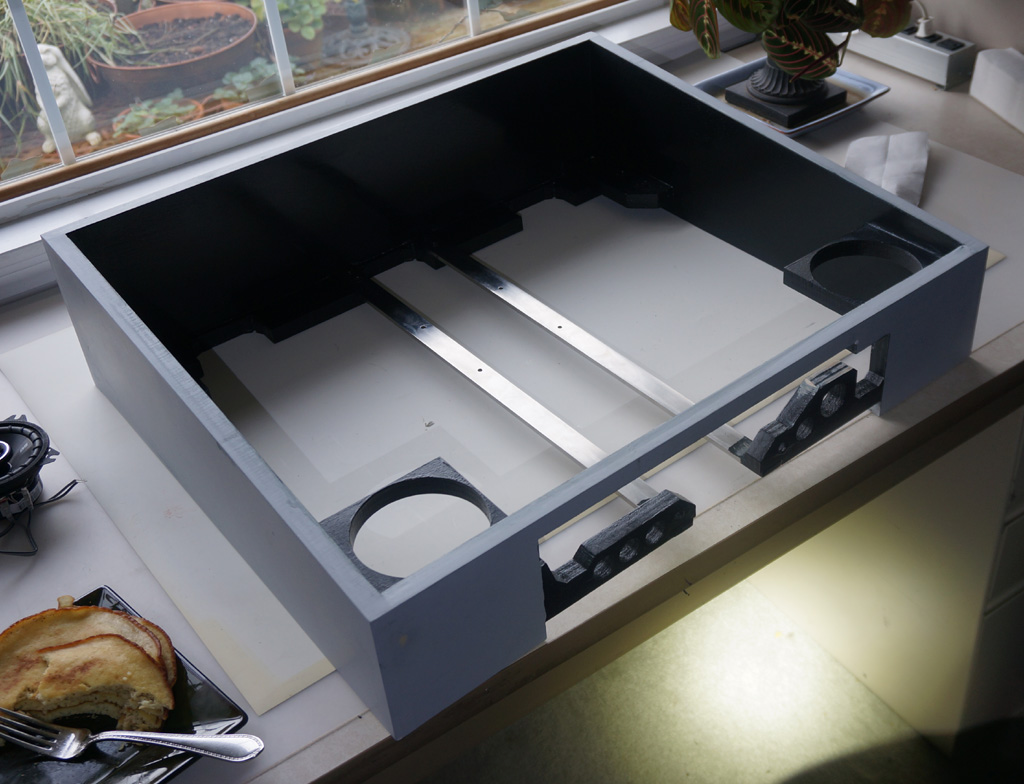
After priming the whole backbox, and painting the inside black, I wanted to do a final check on fit and dimensions.
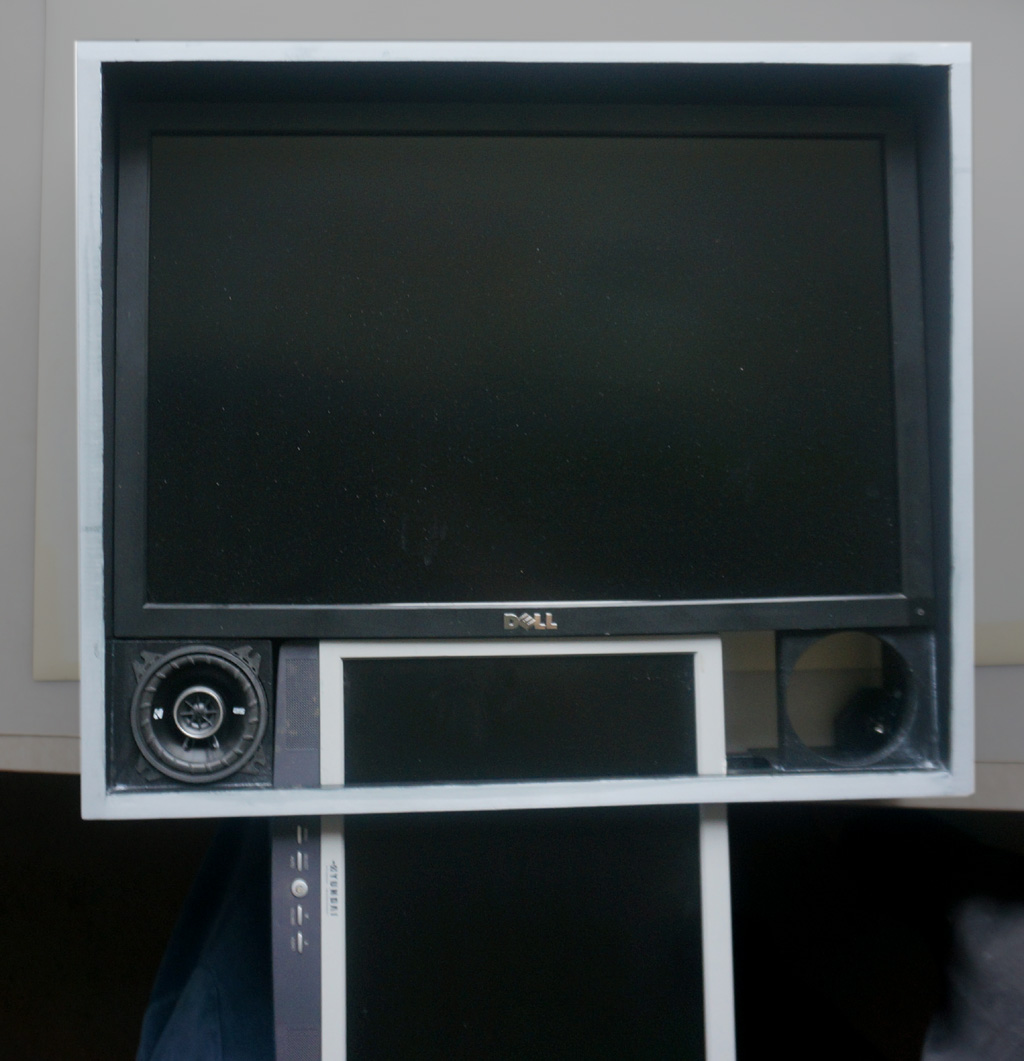
This is how the monitors will fit in, with the remainder of the lower panel hidden in the neck and extending through to the
lower rear cabinet. There will probably be a thin decorative bezel over all of this with cutouts for the screens and speakers,
to hide what's going on back here and look a bit more professional.
Viewed square on, here's the player's-eye view:
I really wanted this backbox to feel like a pinball backbox. Most vpin cabinets use a 16:9 backglass, and many orient the
DMD panel conventional-landscape and cram it entirely into the box, and the resulting aspect ratios look terrible to me - the
backglass is too short, the backbox is too tall, the extra DMD panel area is an extra thing that pinball machines don't have.
This setup LOOKS right to me. Compare Shapeshifter, above, to a real backbox - and to another vpin -
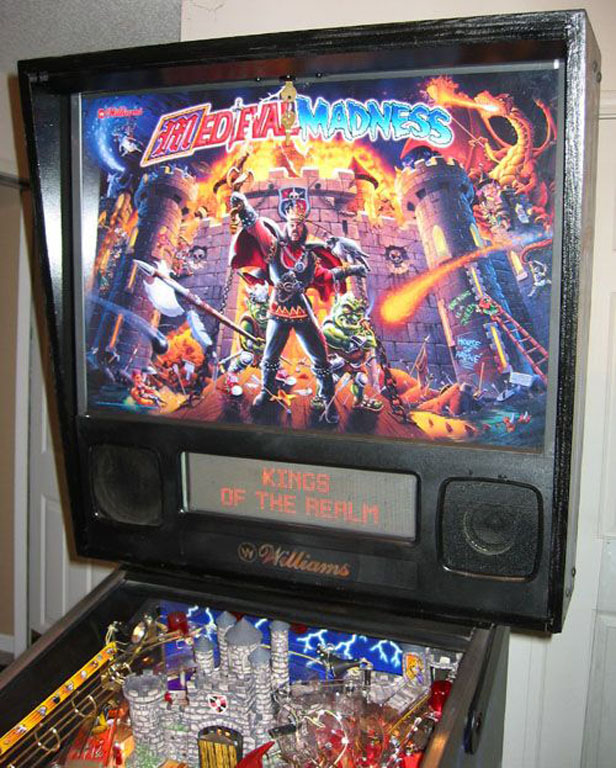
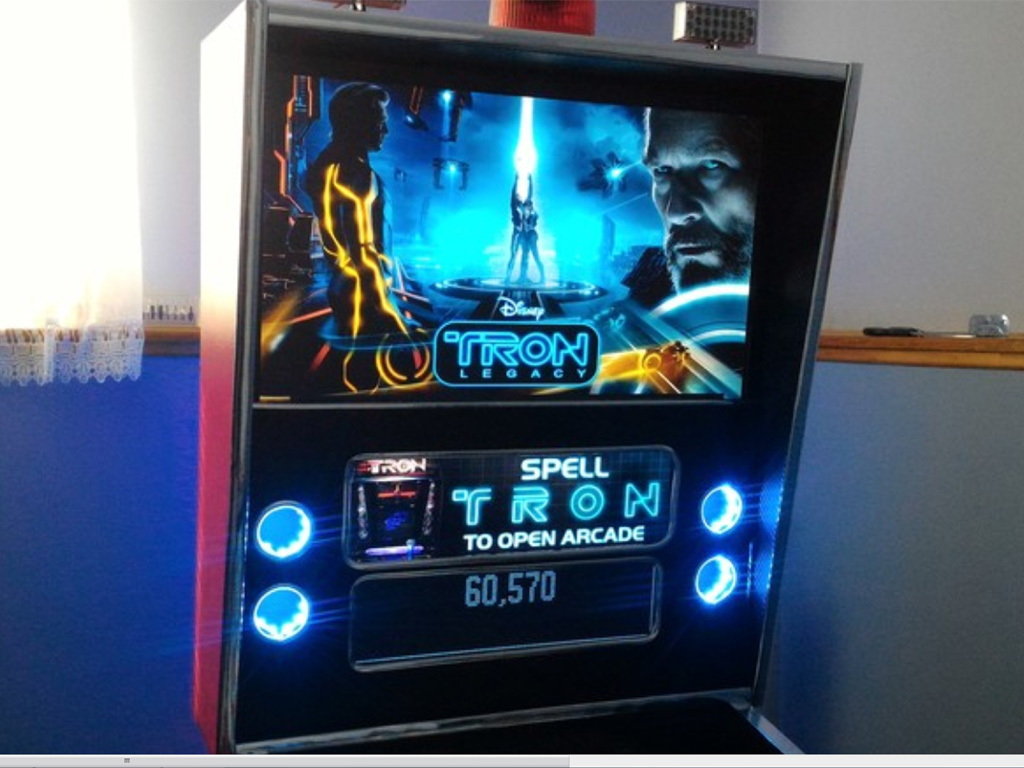
I feel like I got this right. My backbox isn't quite as wide as a real one, but it feels proportional to me.
Continue...