This is the log of building Shapeshifter - a one-off machine that is somehow both a full size vpin cabinet...
and also a sim-pit cockpit for flight simulators, racing games, and most of the sit-down arcade games.
(It's ambitious, but, I've already completed Mimic, so I think I may be able to do it.)
Previously...
Bodywork.
Lots and lots and lots and lots of bodywork.
The problem here is, for the most part, fixing defects in a grey surface does not make particularly good pictures.
The defects will show badly when it comes down to the final polish of gloss paint, by which time it will be too late to
do much about them. But it's hard to accurately document this part of the project and the quantity of labor involved.
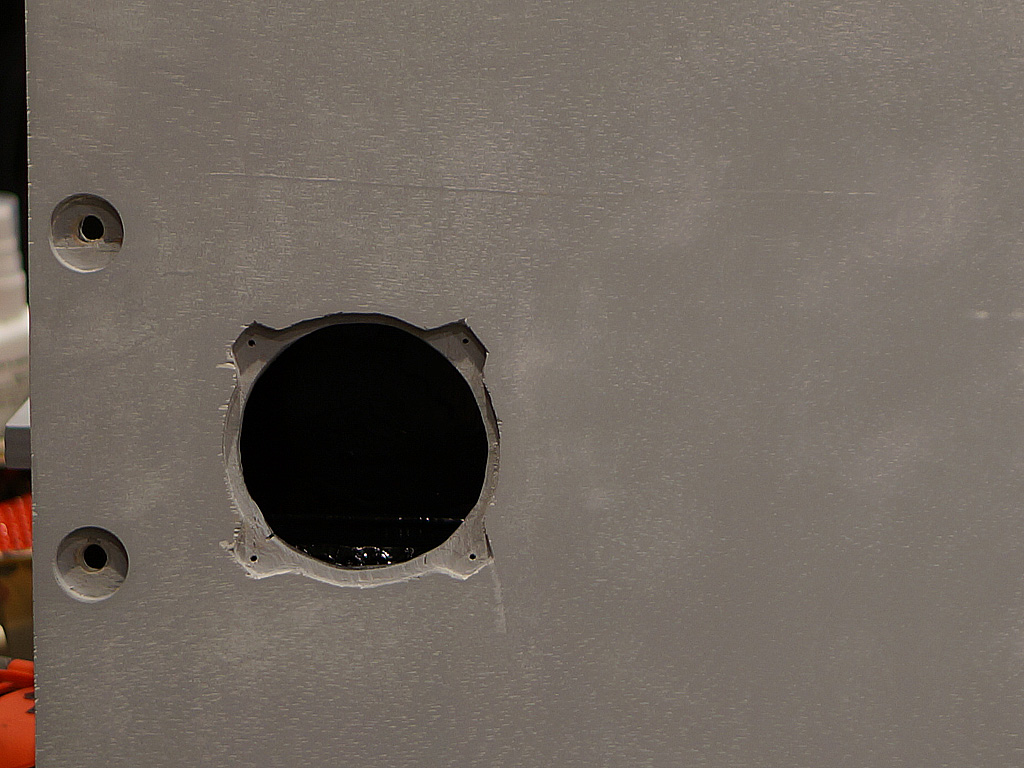
Sometimes, you get a really obvious case, like this plywood manufacturing defect:
This is a spot on the inside top edge of the access hatch, where the plywood making machine just smashed a bunch of
crap together and left a ton of voids. There's no screwhead there, that's just a roughly circular bit of wood.
(Surprisingly, this one wasn't too much of a fight to fix.)
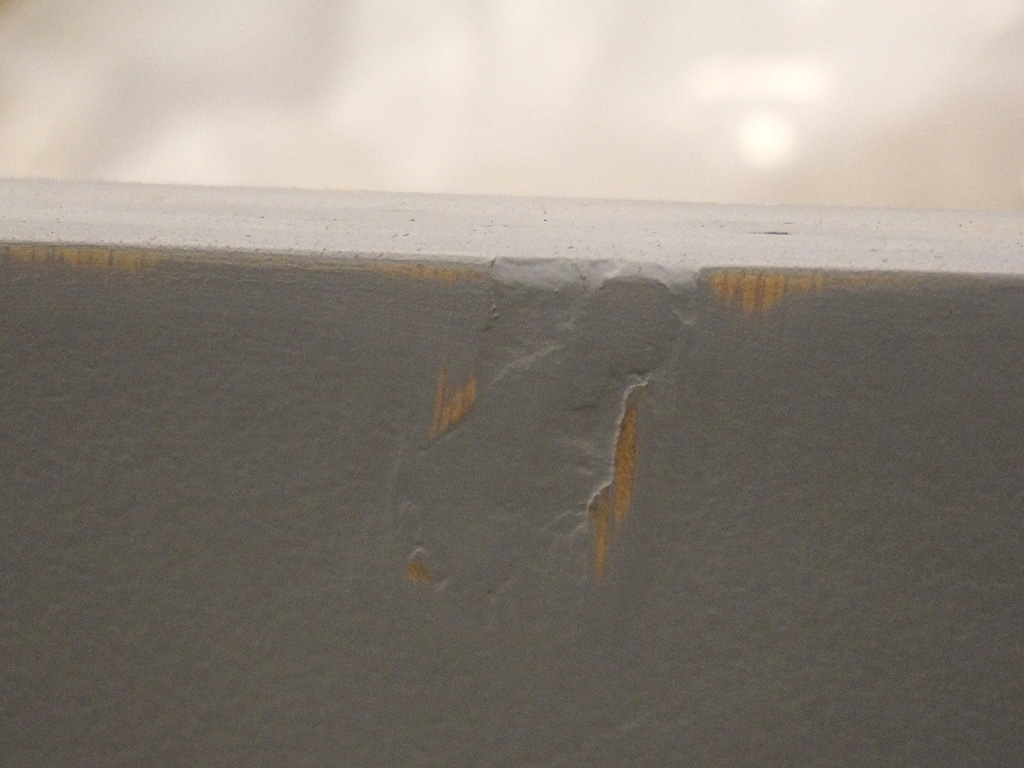
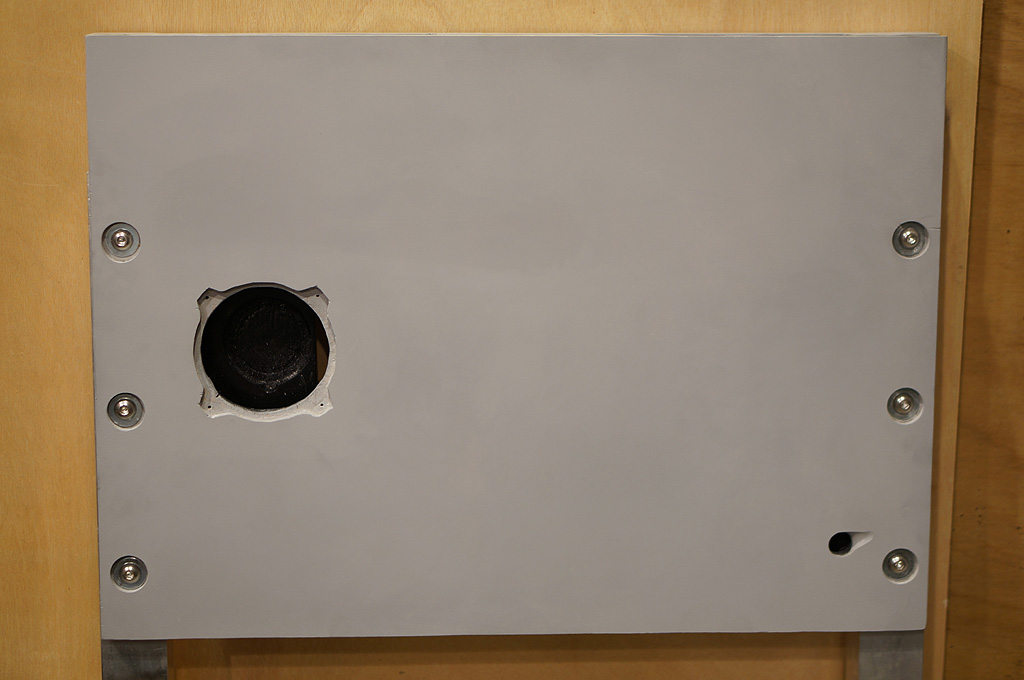
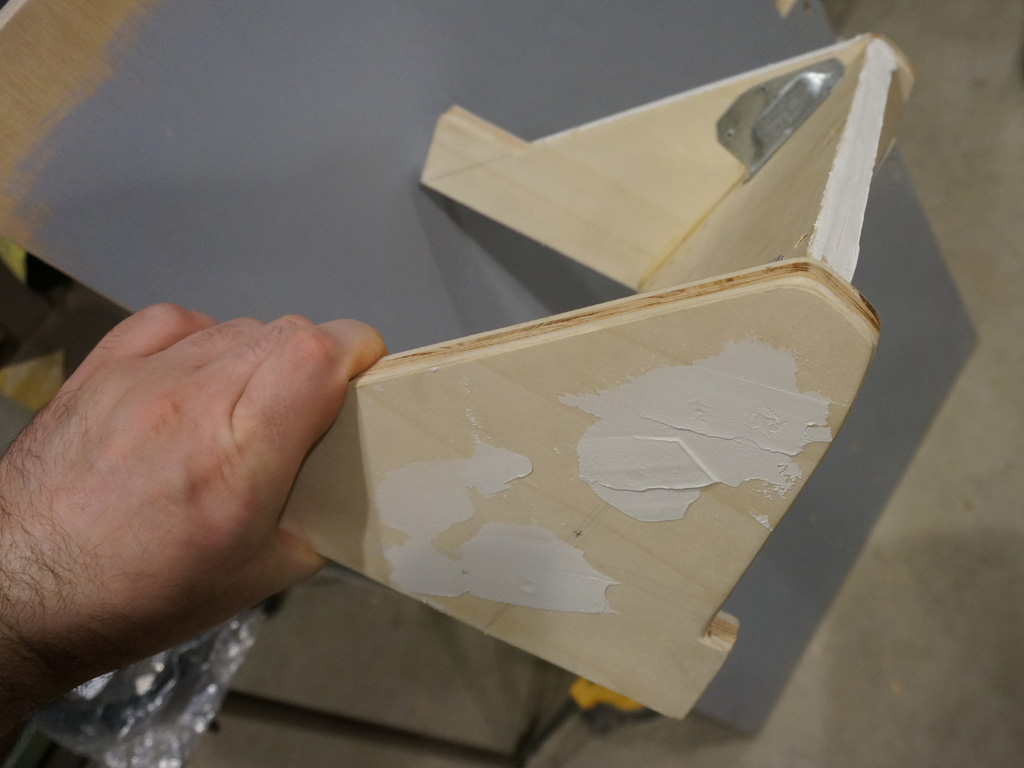
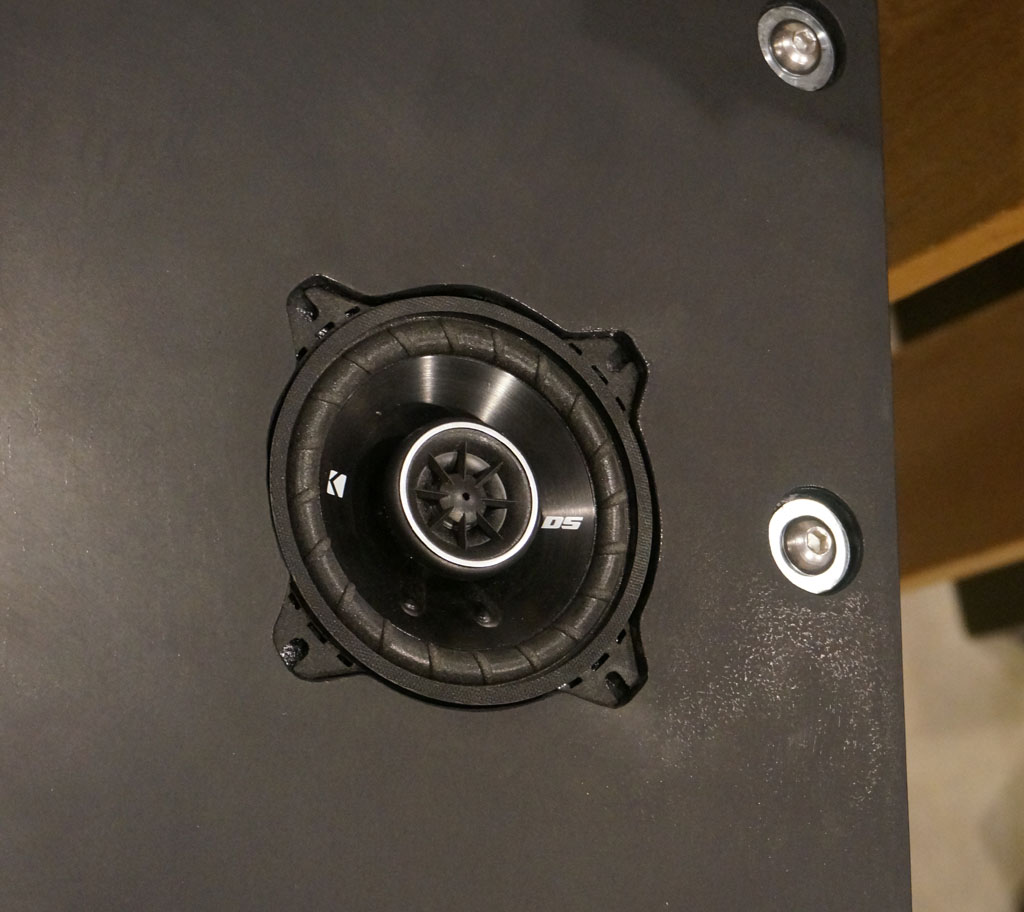
More often, though, you get stuff like this.
(For context this board has already been filled, sanded, primed, sanded, filled, and sanded.)
That mostly-horizontal line above the speaker hole - that's not a scratch. That's a standing ridge, buckled *up* in the
top surface ply of the plywood. I primed the board, sanded it down, and a wooden line shows through. Primed over it, sanded
and that wooden line showed up AGAIN. Primed, sanded, yep, there it is, bare wood above contour. So I tried sanding just the
line itself, using the edge of folded sandpaper, for about an hour. Primed it, looked great. Sanded it.
Wooden line. Still a ridge.
So I said some choice expletives. Alright, four coats of primer and sanding on this board and I've still got the defect? FINE.
Needle file.
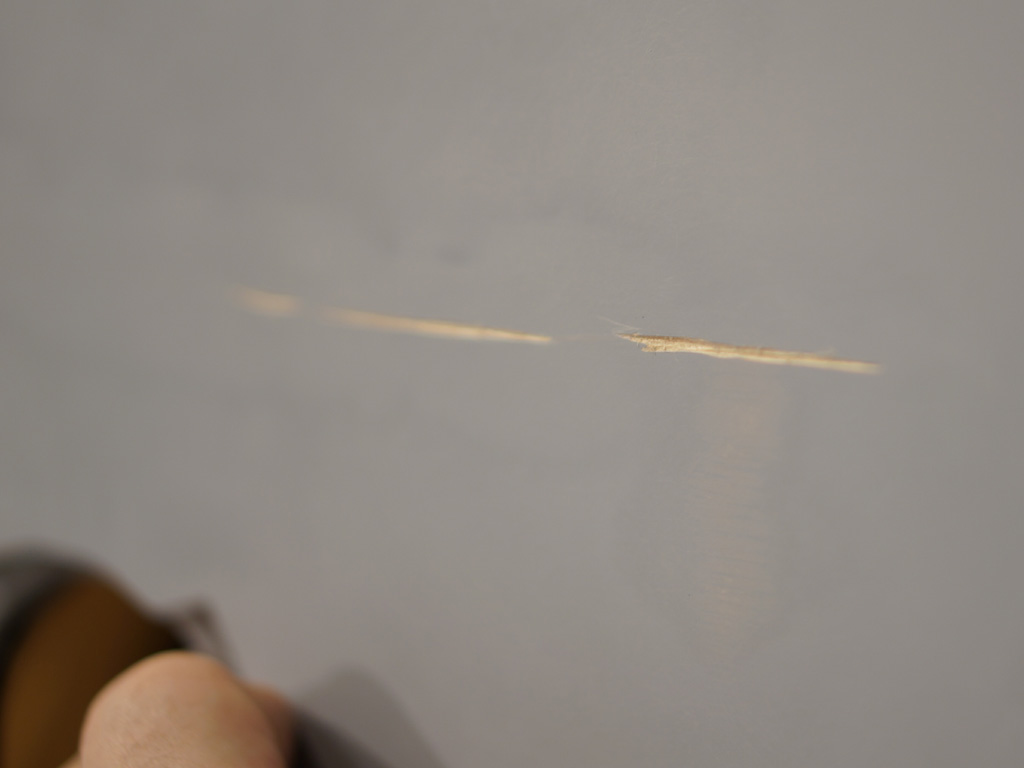
I defy this sucker to stick through the paint now.
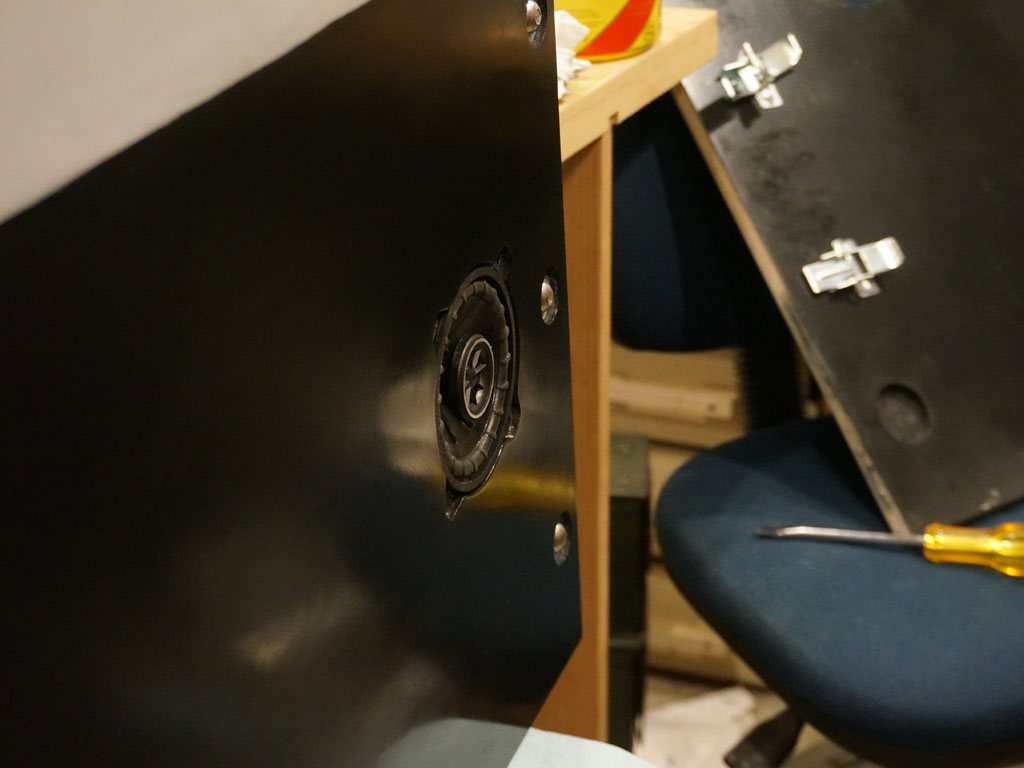
After all, I know how to fix gouges, that's just filler.
Ha ha ha ha.
So I filled it, primed it, sanded it, and it was still a dip below contour.
So much for "I know how to fix gouges", I guess.
It only took three more passes of palette knifing primer into the gap and sanding, to hit flush.
So this is much more representative of how I am finding bodywork to go. An awful lot of work, for a very small return,
to fix something that looks like it should have been easy to fix. If I don't fix it, it'll show through and look like I halfassed
the build.
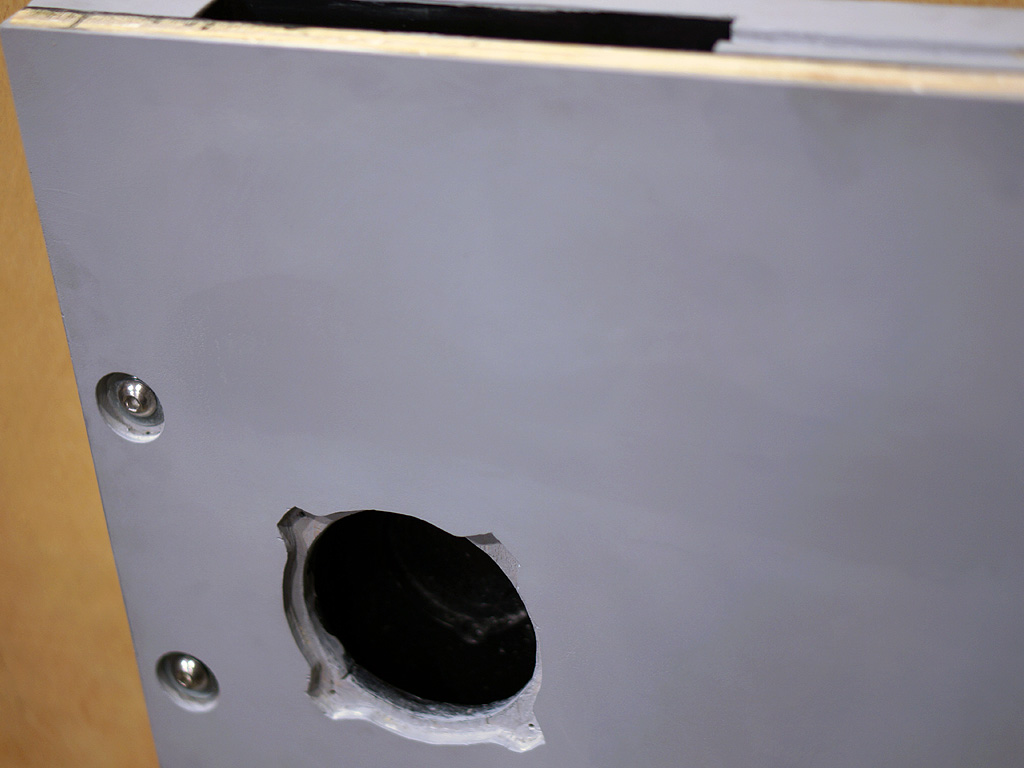
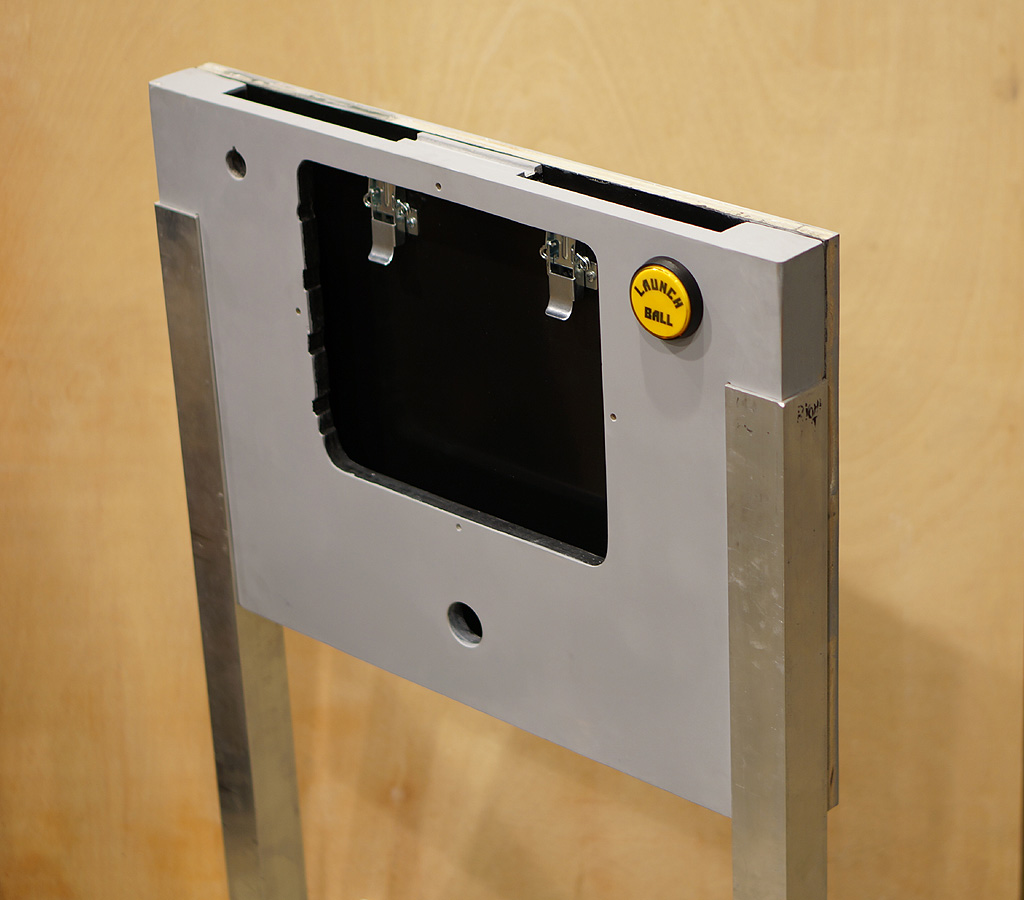
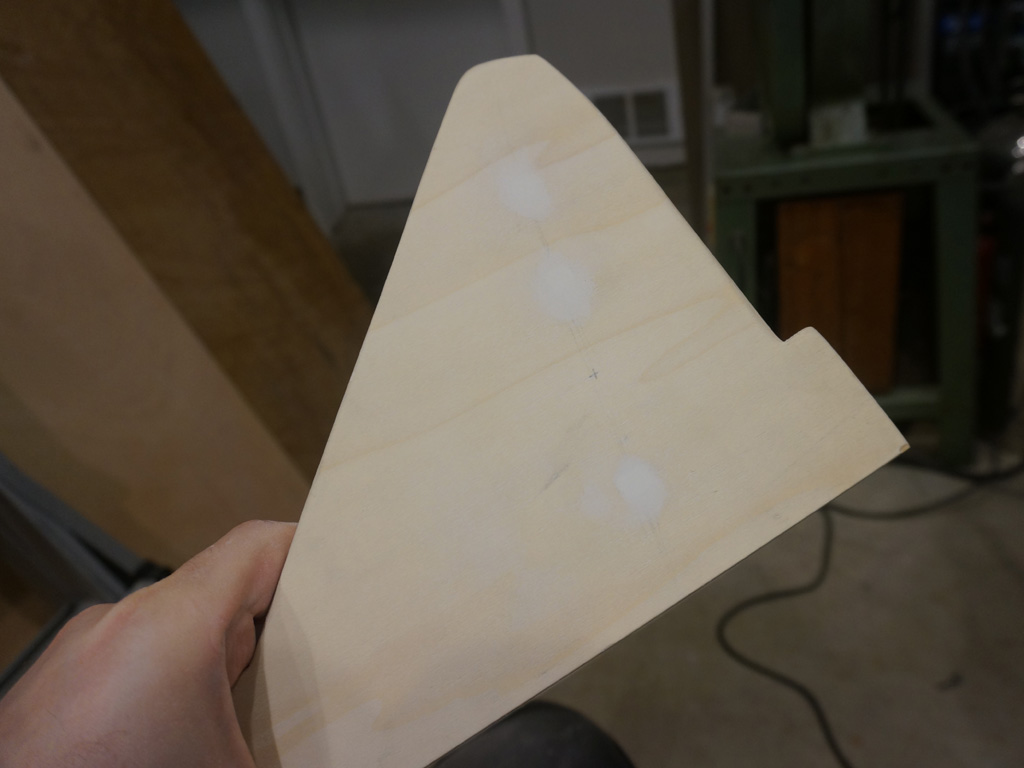
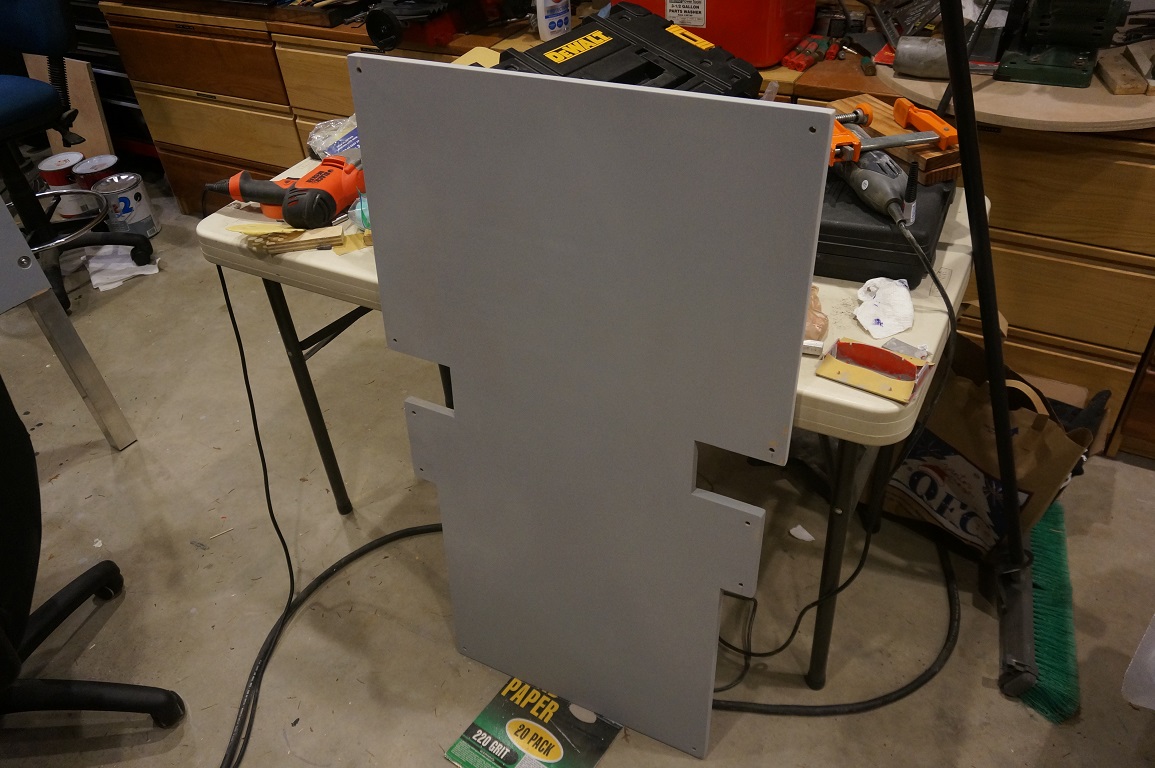
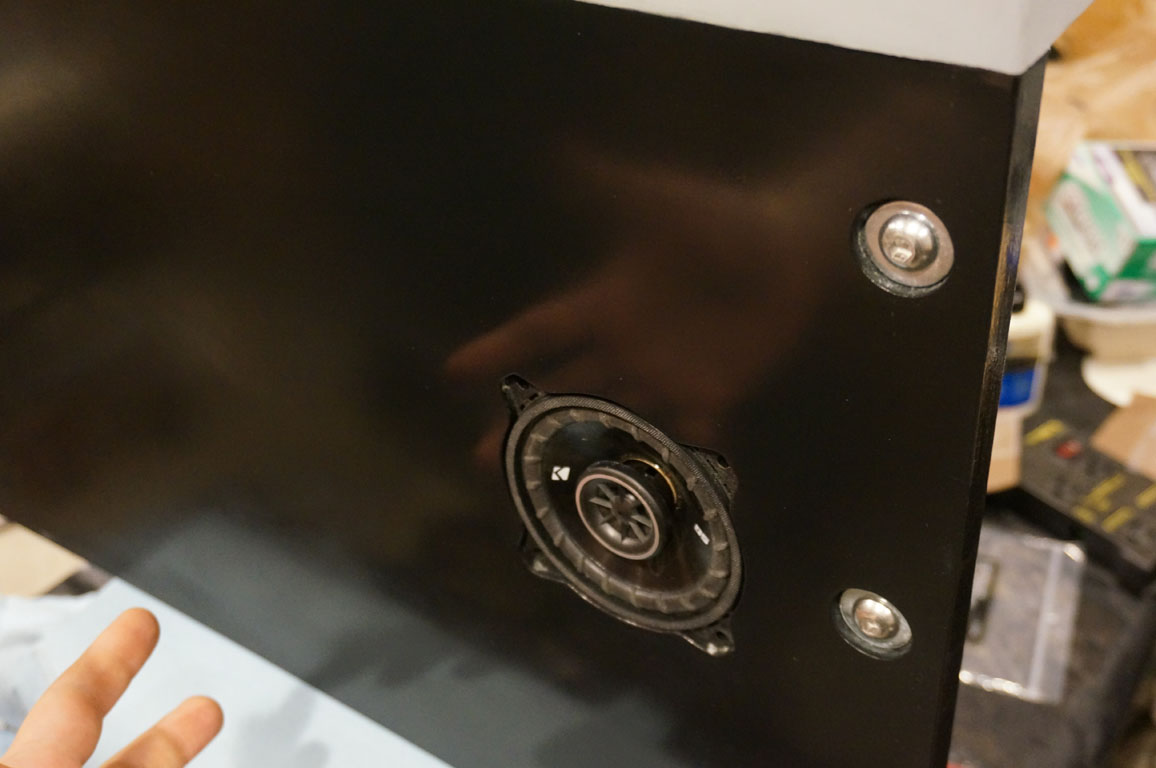
Stepping back, here's the whole panel again.
This is a rather visible portion of the machine. This will be the wall to your left when you are in driving / simpit mode,
and pretty much smack dab at eye level.
The ridge, and the gouge, are at least gone. I won't be surprised if they reappear in the color coat.
Also, notice the scar where the freehand dremel burr got away from me at the corner of the speaker is now gone.
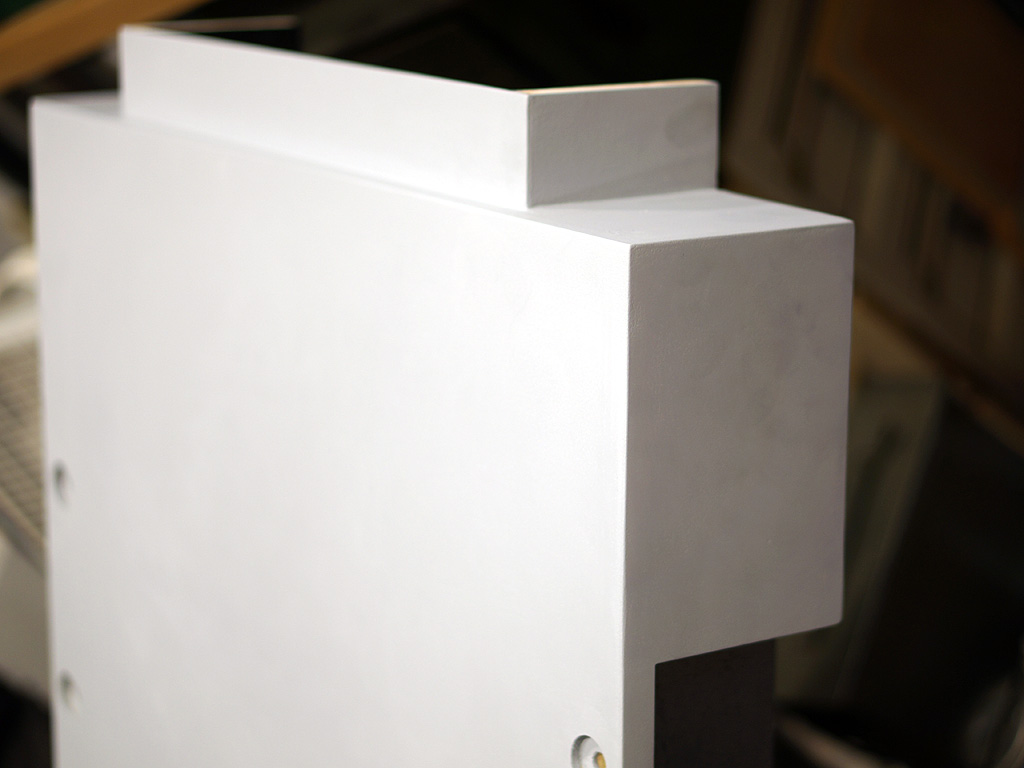
Here's the front of that piece, as primed and prepped.
An interesting detail here is the radius to blend into the lockdown bar at the top. I need it square where it fits into the
leg, but the top needs a bit of radius to flow into the lockdown assembly - so the corner is a tall conic section.
The lower rear cabinet is also receiving prep. I've done a lot of work on the cheeks that sit atop the rear legs below the neck, that
surface was initially pure dog's breakfast. Now it's all the way up to kind of probably maybe okay.
Shifting gears...
by way of the clutch
which is my way of segueing back into the pedals for a bit...
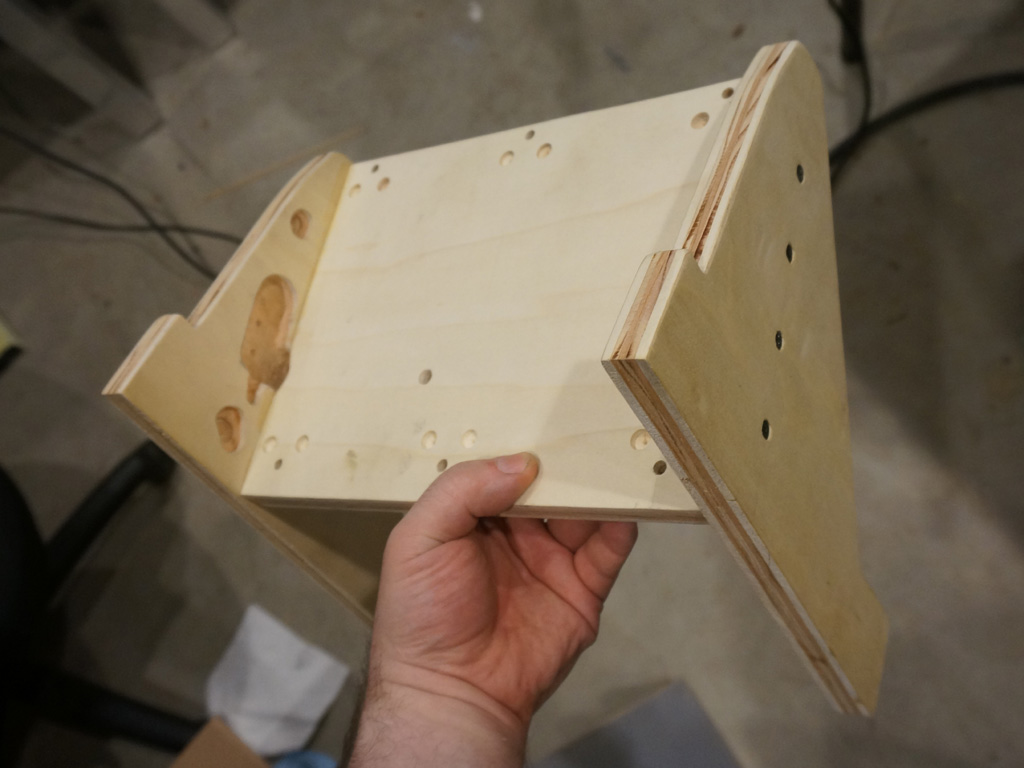
When we last left the pedal frame, it looked about like this.
Filler goes on.
Filler comes off.
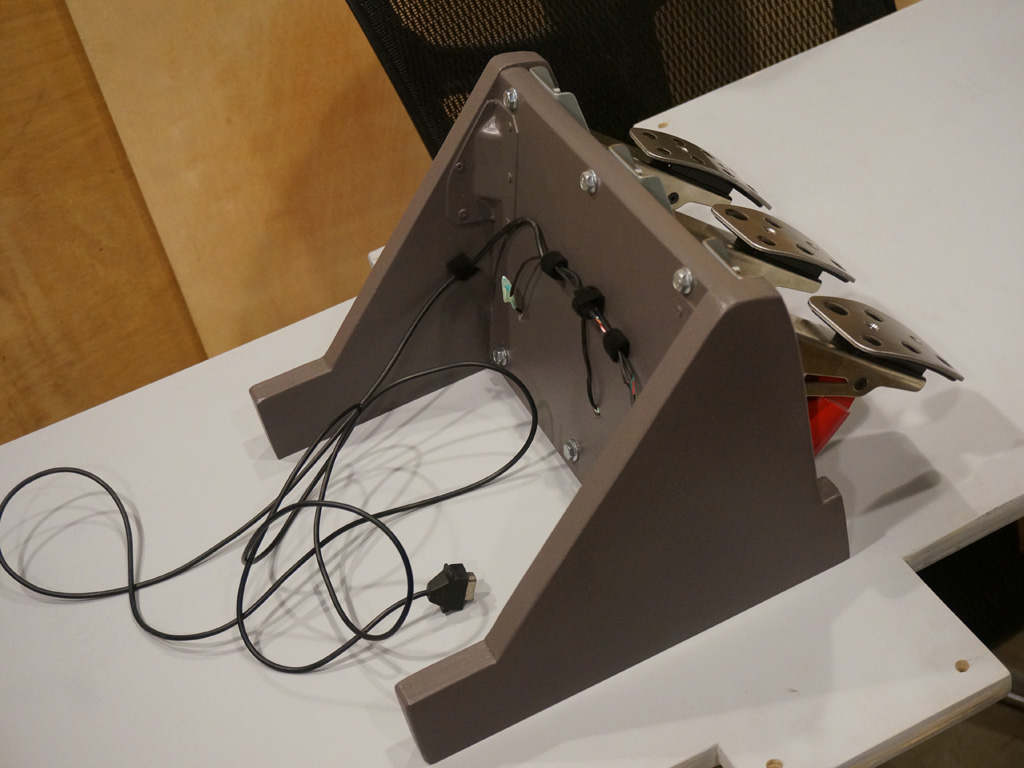
The pedal frame, as well as the dashboard and seat and shifter arm - all the simpit pieces, basically
are going to be the same color grey as Mimic. This will hopefully tie the two machines together a bit, visually.
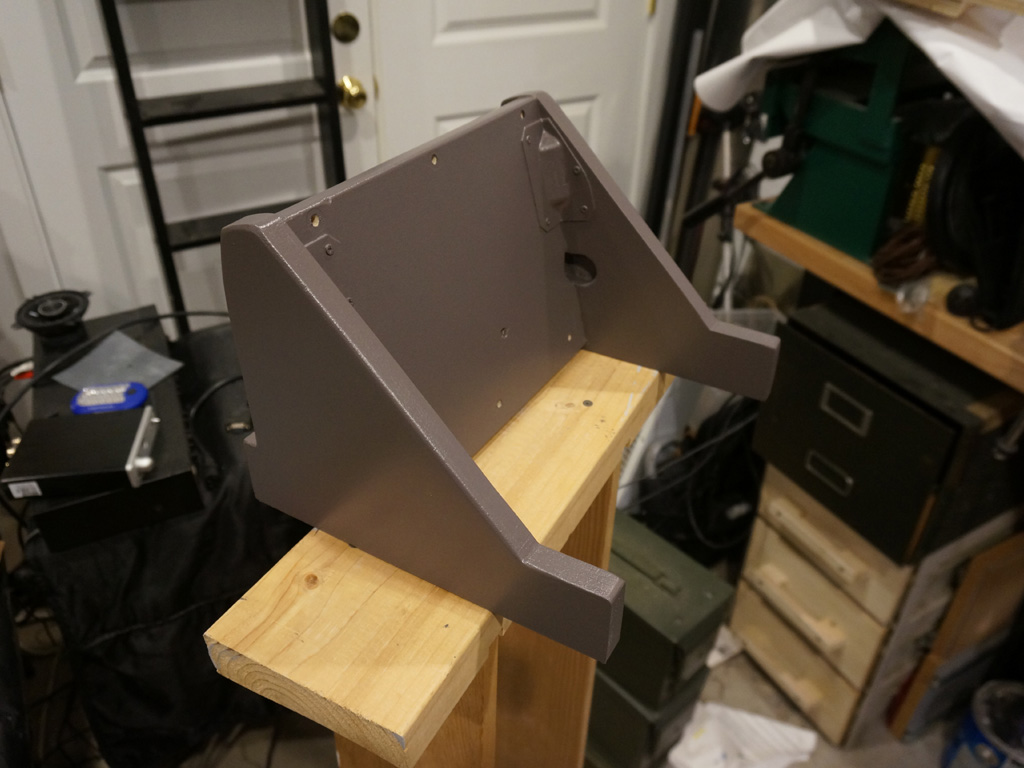
The backside gets some strain reliefs and wire routing...
This should keep the delicate bits safe. This is also, with luck, the last time I have to
disassemble and reassemble this subassembly.
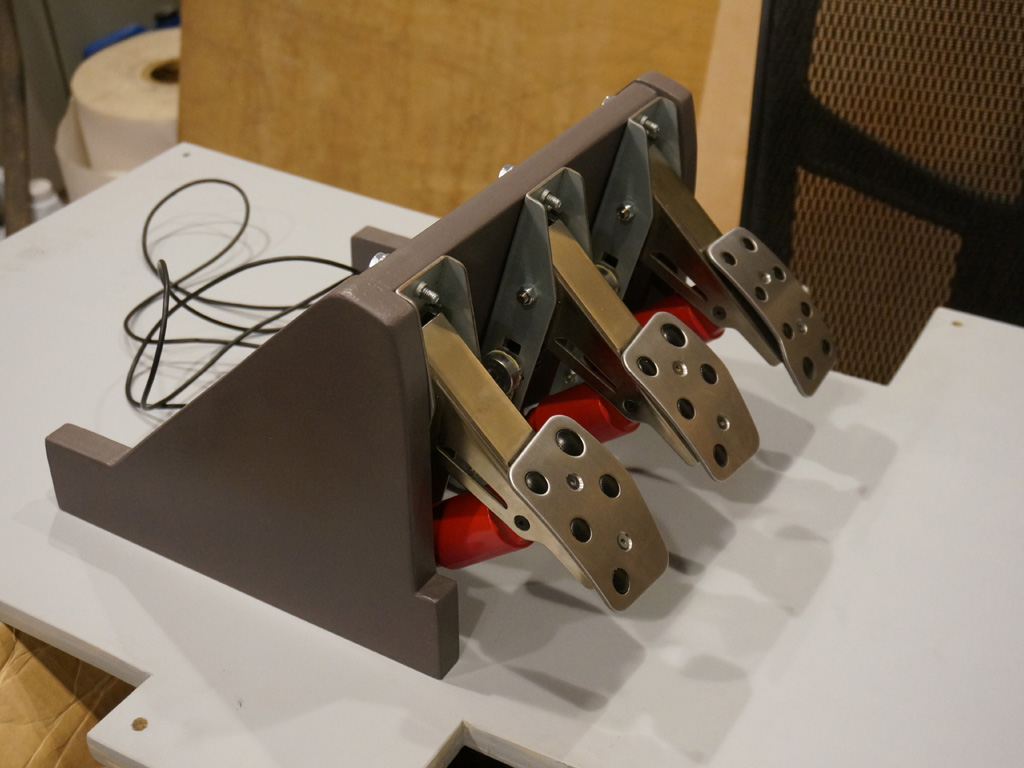
This is the result - looks pretty swanky. The red portions of the pedals kind of match the red of the pinball parts, too.
Meanwhile, back on the cabinet, endless bodywork continues.
Here's a fitting check for the hatch assembled with the full backbox with the back cabinet.
Spoiler: It didn't fit.
I made it fit.
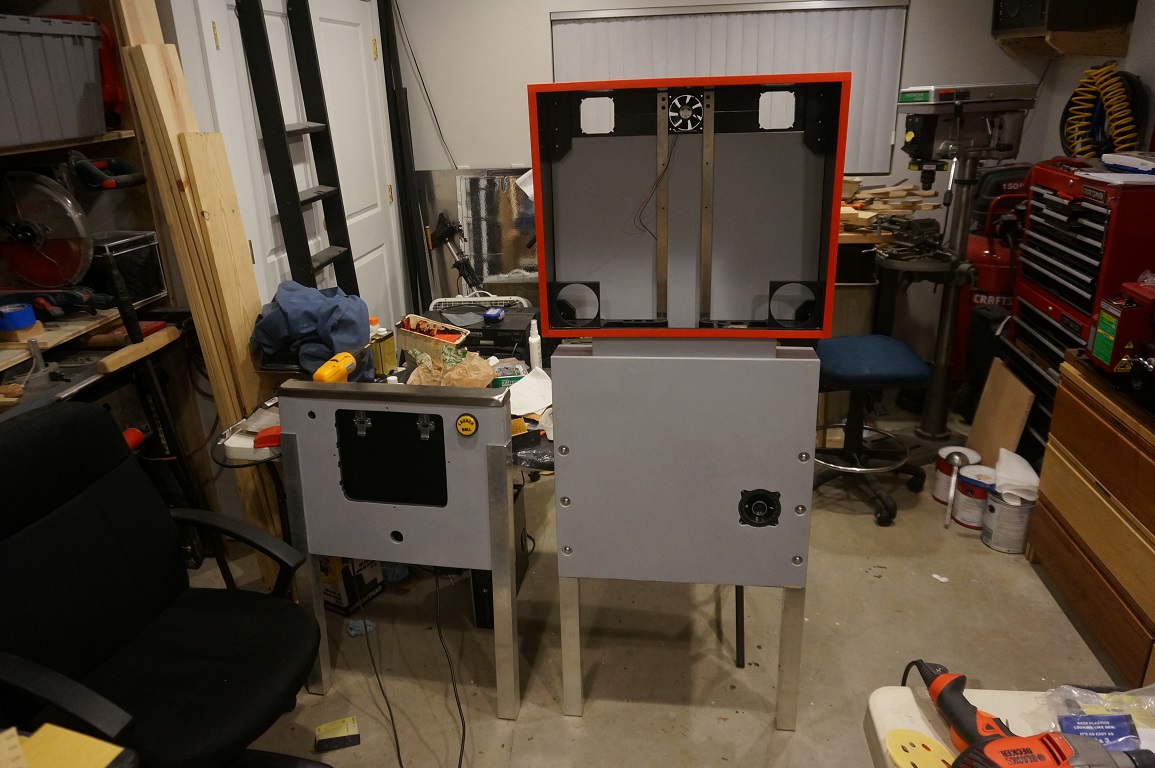
I like having pictures like this, when it's all disassembled, to keep faith alive that this can all be one unit.
Okay, time to tear it apart.
Primed both sides of the rear hatch.
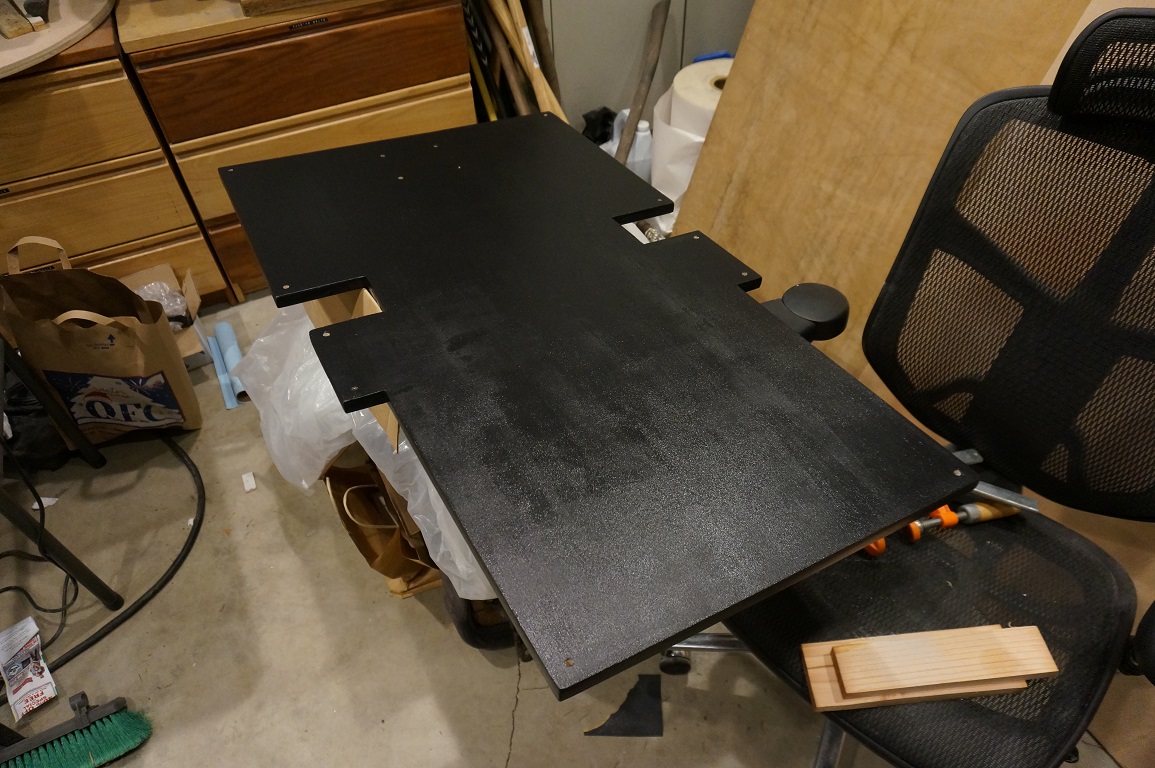
Painted it black. I don't know how much I'm going to fuss with this surface, since it's hidden inside the box.
Maybe a little, it does look awful rough.
But I have other surfaces far more important to try to perfect.
The difficult part here is, three panels of Shapeshifter will be two-tone red and black, with the seam
out in the middle of nowhere. I learned by painful experience that masking tape can and will lift my primer, so I feel
I have no choice but to freehand this edge. With a disposable sponge brush.
Arright, let's do it. Black first, because red sanding dust on black is easier to clean up than the other way around.
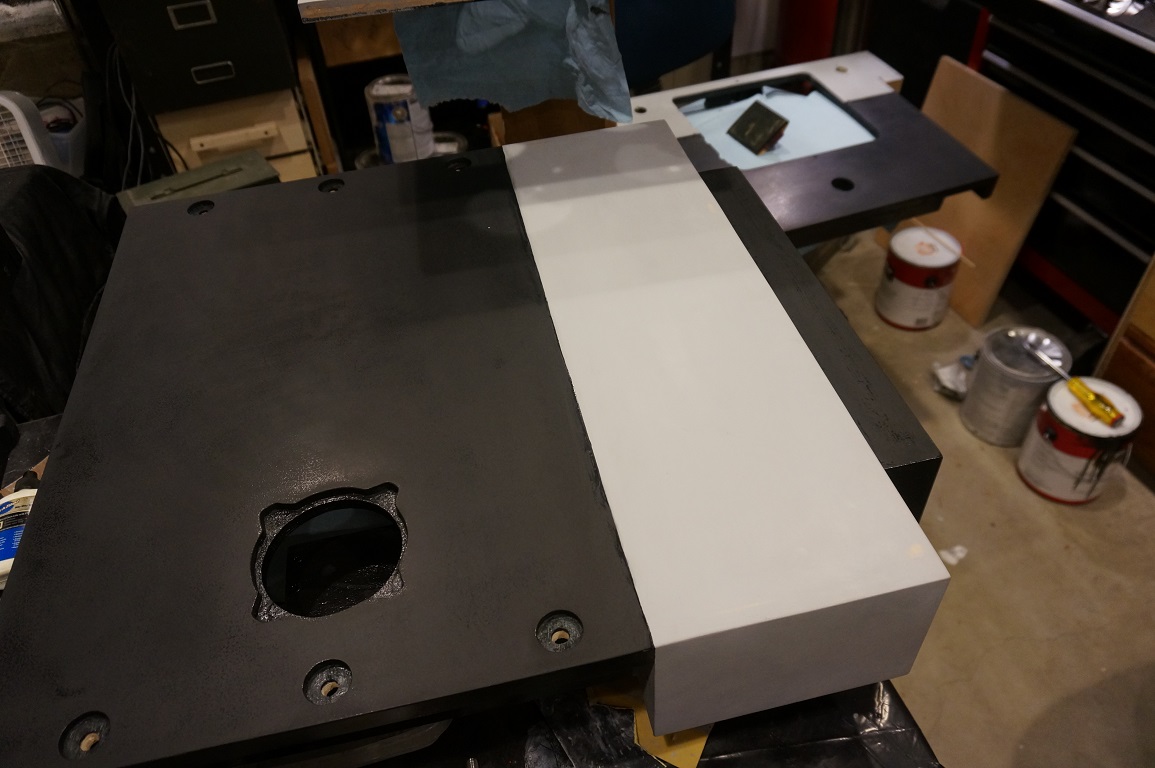
That'll do. That'll do.
Five coats on and sanded back, produces:
But how does it polish up, that's the question.
Pretty good.
If I wave my hand in front of it...
Now, to sand and polish the rest of it.
It's been a long, long road to red.
Continue