This is the log of building Shapeshifter - a one-off machine that is somehow both a full size vpin cabinet...
and also a sim-pit cockpit for flight simulators, racing games, and most of the sit-down arcade games.
(It's ambitious, but, I've already completed Mimic, so I think I may be able to do it.)
Previously...
Next up, Red.
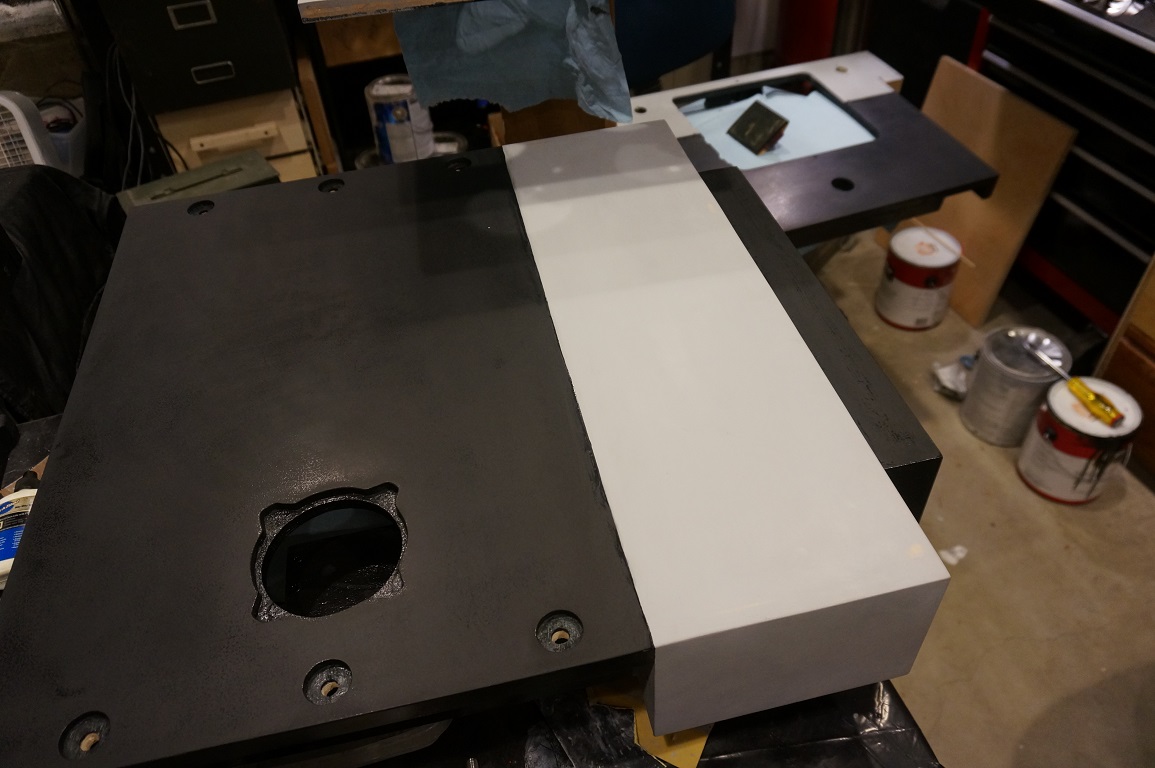
I had already hand-painted the black up to the line and polished it, so next I got to hand-paint the red down to the line.
I dig the combo.
So, repeat it a lot.
There are four panels with tricky dividing lines where color touches color.
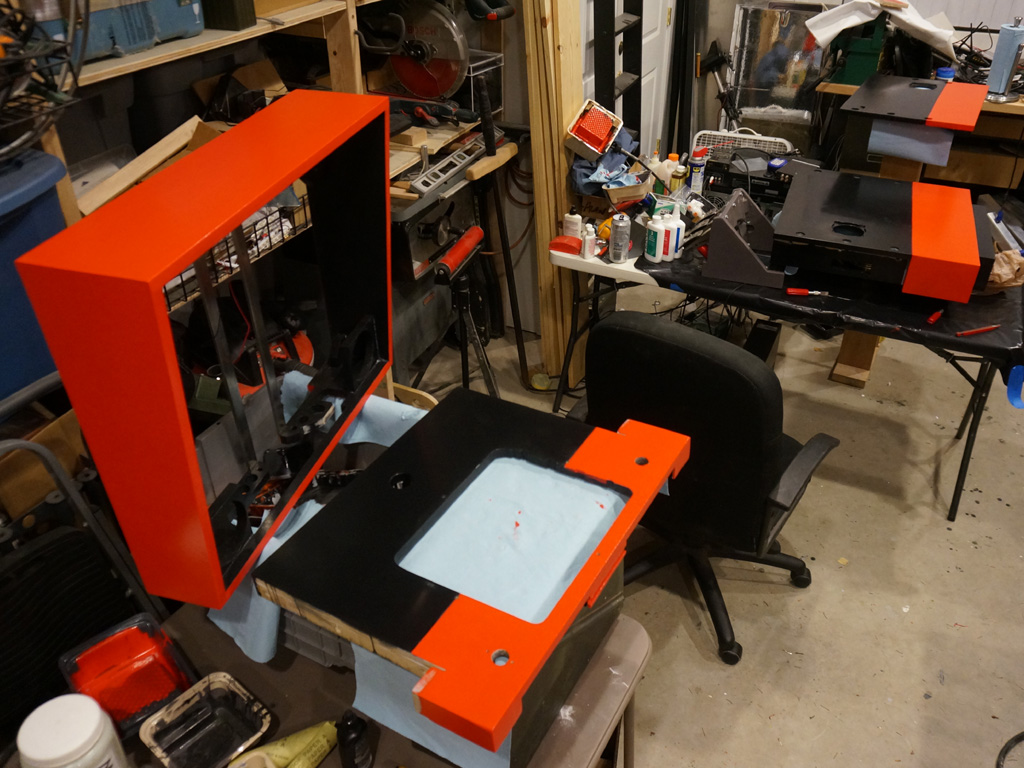
The backbox sits on the rear cabinet like so.
At first I thought this neck that the backbox sits on was entirely my own invention - my backbox can't quite
be as big as it strictly should be due to monitor availability, 16:10s never existed above about 30" - but
I discovered after designing this that it looks a great deal like a Williams System 6 or System 7 machine.
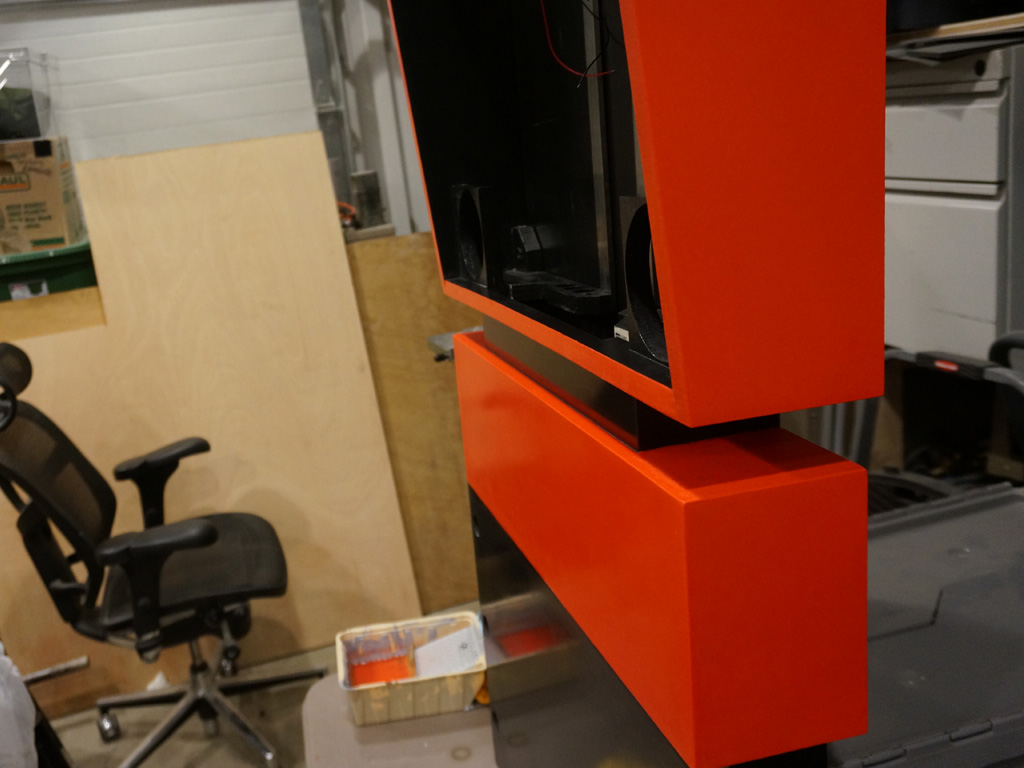
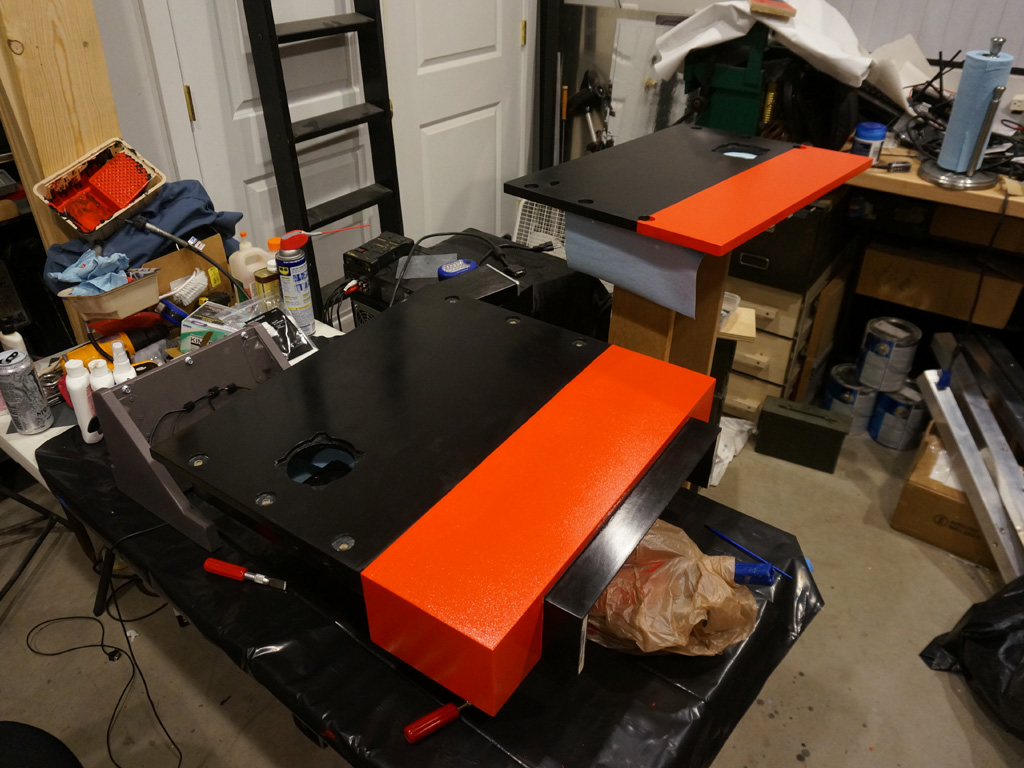
The red just does not polish to the same mirror-like depth that the black does, though you can see some reflection going on here.
I do like how the neck picks up the red reflection the body from many angles.
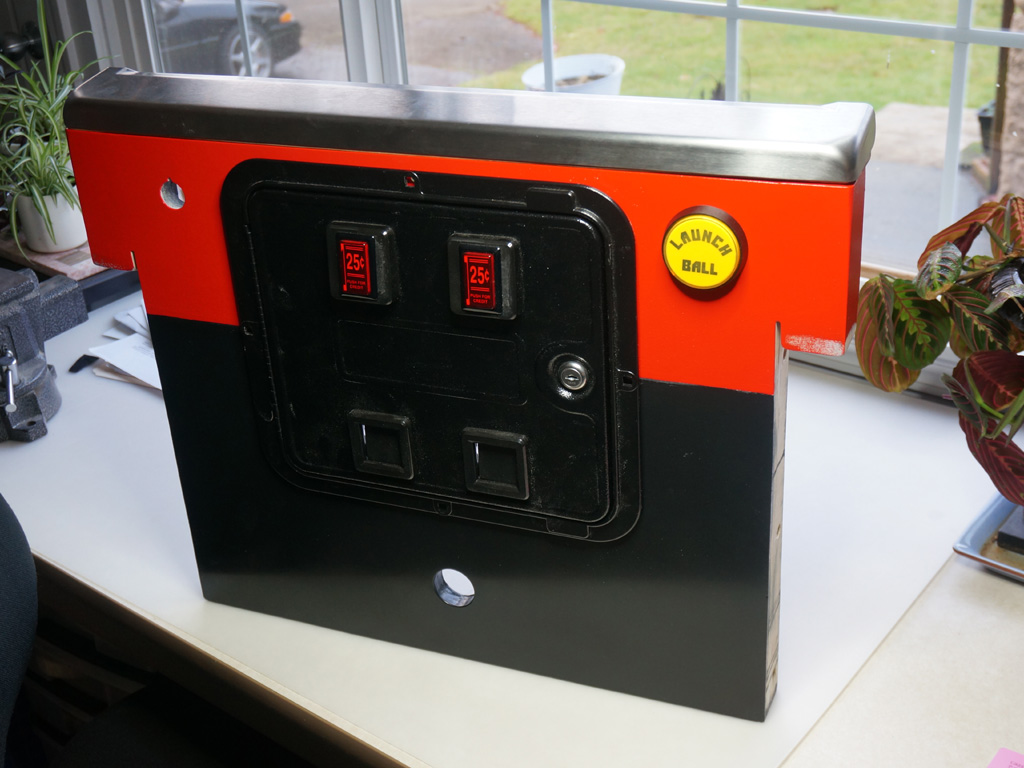
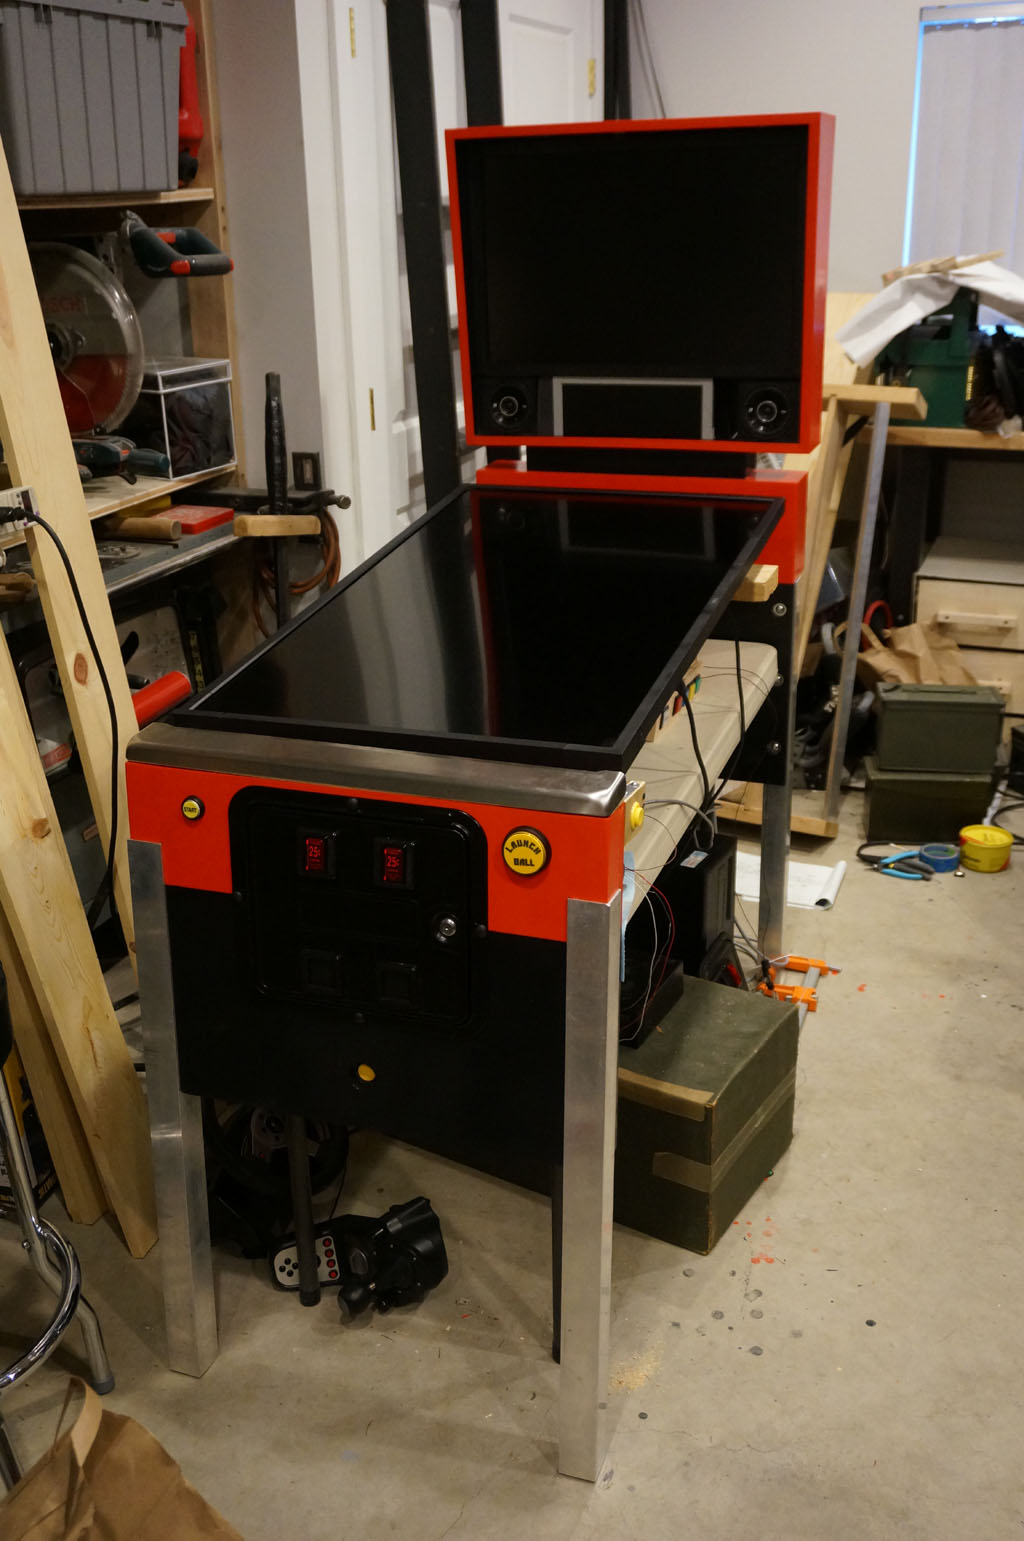
Here's how the coin door and buttons will look against the red-over-black.
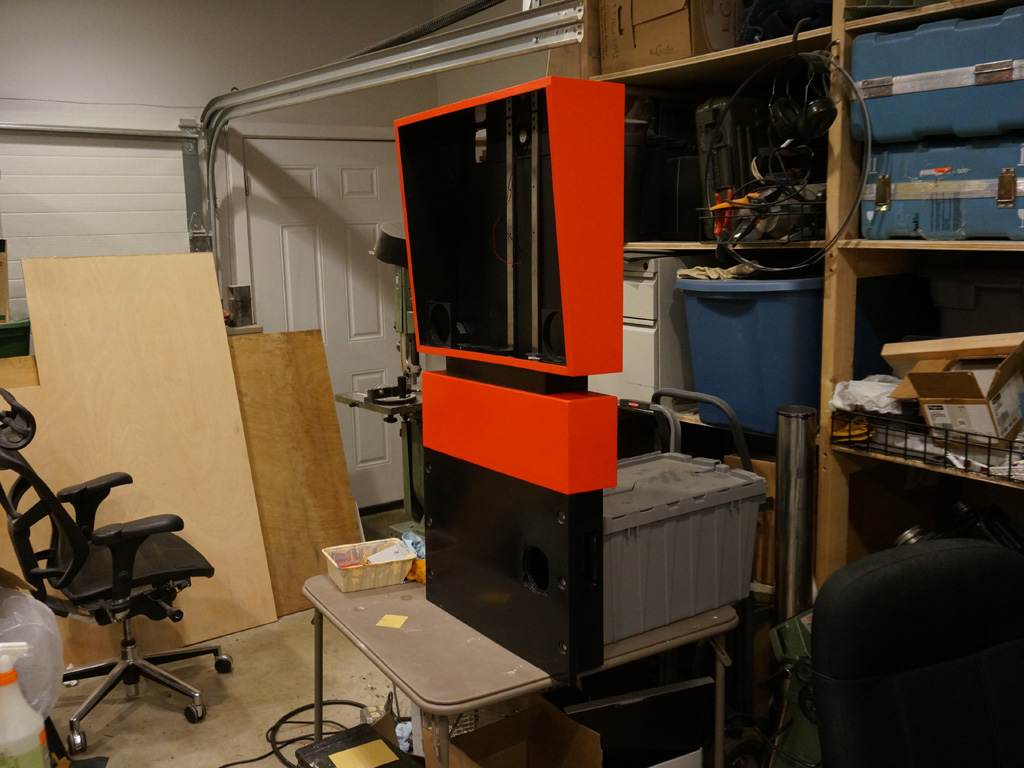
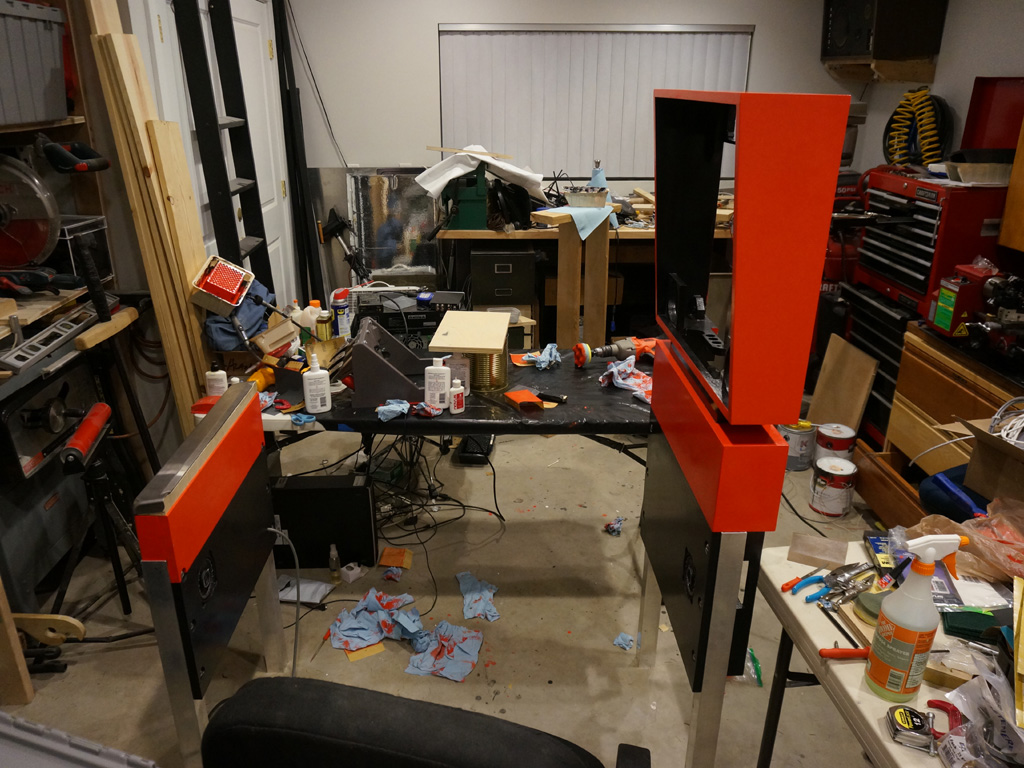
Getting these parts back up on the legs...
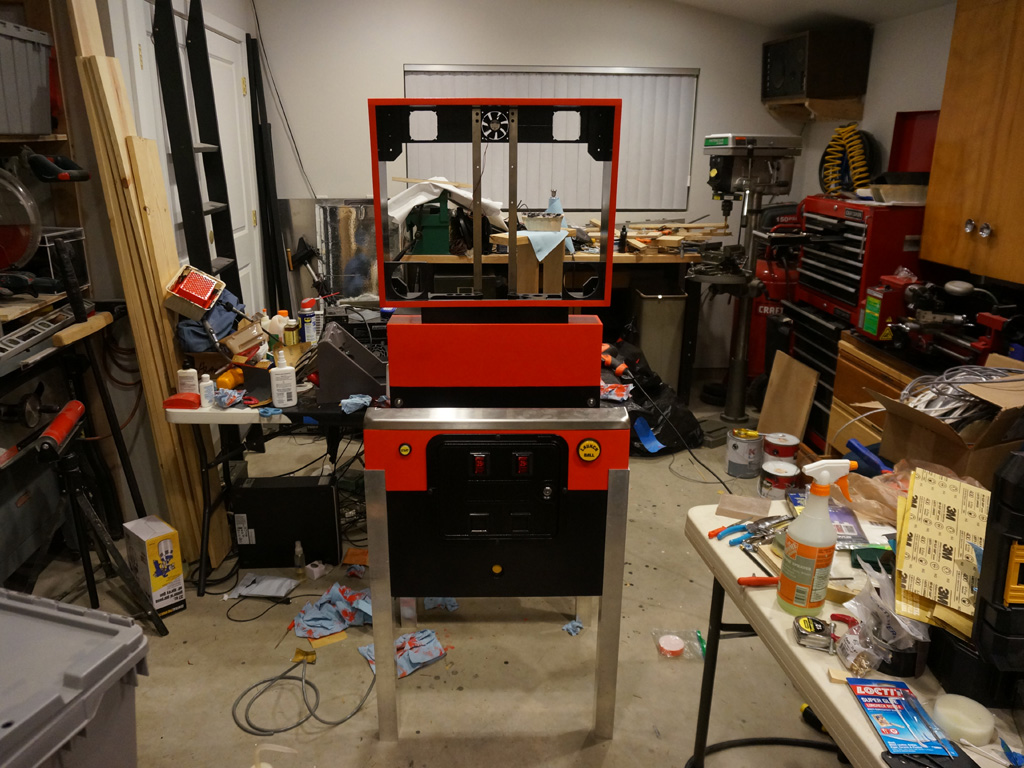
This approximates how the machine will look from the front in pinball mode.
The end cabinets are way too close together, it's not actually going to be Super Distorted. But this angle
really shows the way the rear cabinet wraps around the legs and extends back between them, and gives some sense
of the lines of the thing.
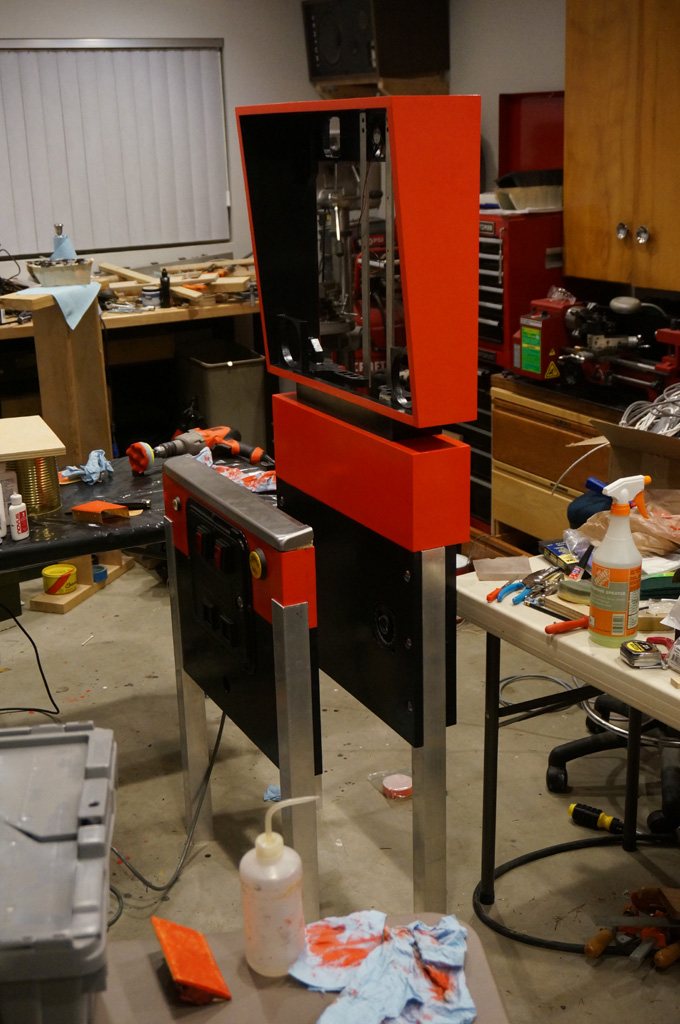
Here's the end cabinets the correct distance apart. This approximates how it will look in driving mode.
You can see the driving speakers line up facing each other.
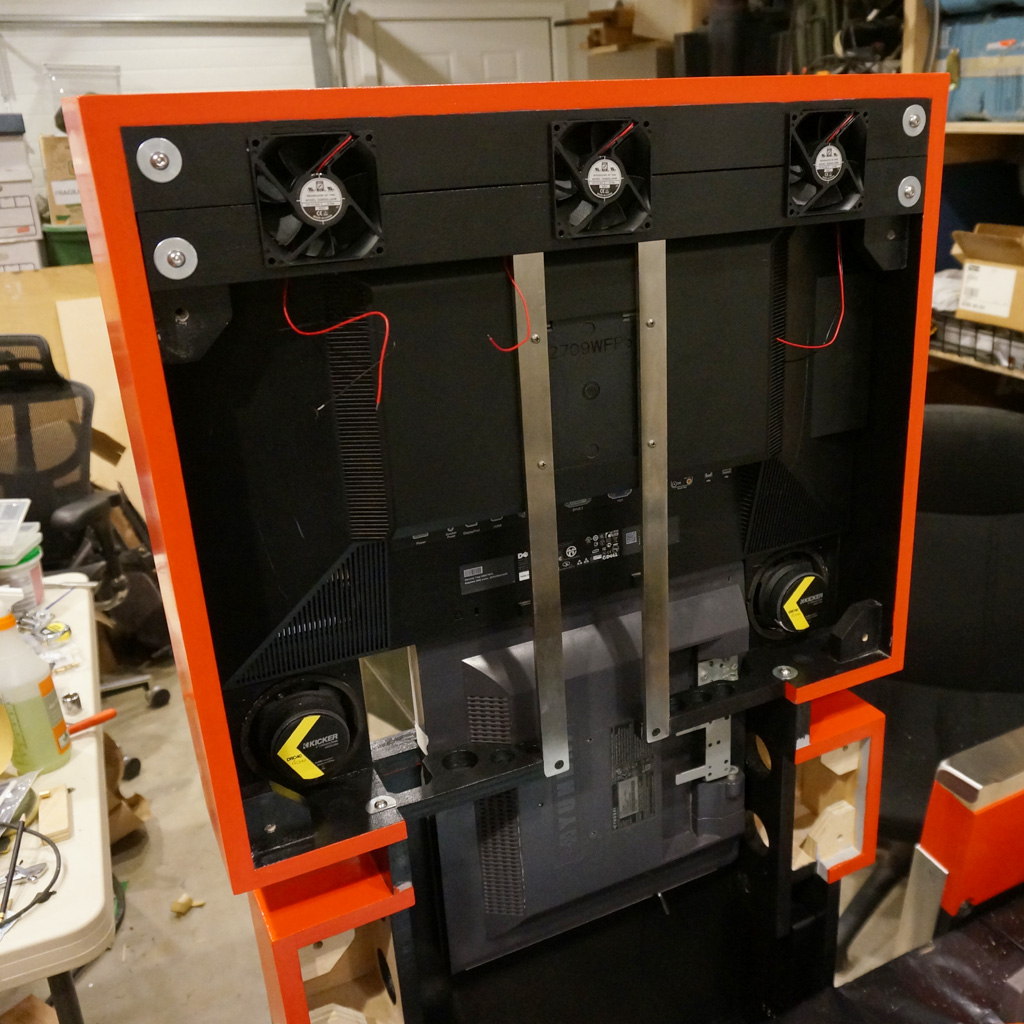
Here I've begun populating the back cabinet and backbox.
This will probably have to come apart at least once more for axle mounting and a few other tasks, but I want to
assemble it to do some fitting and verification.
Nothing's wired up yet, but you can see the relationship of the backglass panel, the DMD panel, and the speakers.
I specifically wanted all this stuff to remain mounted and fixed in space when the hatch is off.
I should be able to route all the wiring this way, then bolt the rear access hatch up over all of it at the end.
You can see the big cord via, to the left of the DMD panel, down into the neck - that's where most of the cable runs will go.

From the front, here's how that backbox looks with screens in it.
Ignore the one VGA cable off to the left, that's a temporary extension cable to make up for the PC being too far away from
the backbox - it isn't correctly routed, but the rest of the wiring more or less is. I'm trying to keep all the airflow up the center that I can.
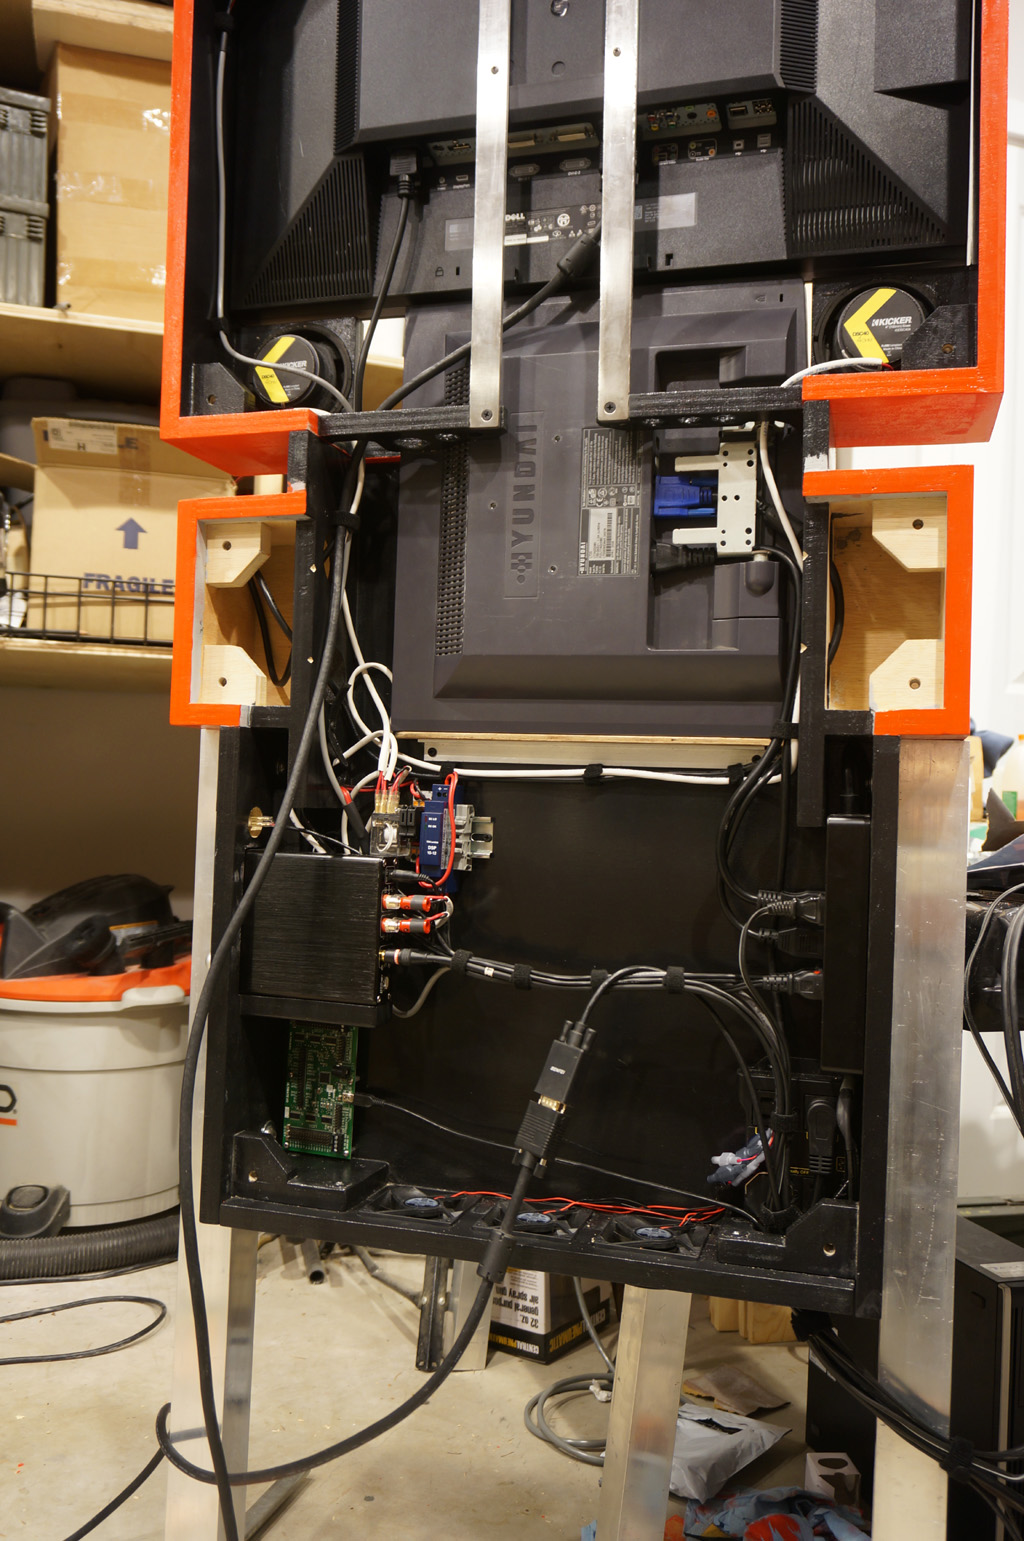
Above the amplifier, you can see a chunk of DIN rail that contains the 12v power supply for the fans, and the audio switching
relay that handles flipping the speakers from pinball mode (both in the backbox) to
driving mode (left speaker in the front cabinet, right speaker just behind the amp).
I turned out to have 23 of the 24 screws I'd need to mount all these fan covers on hand, so there's one missing screw in the bottom for now.
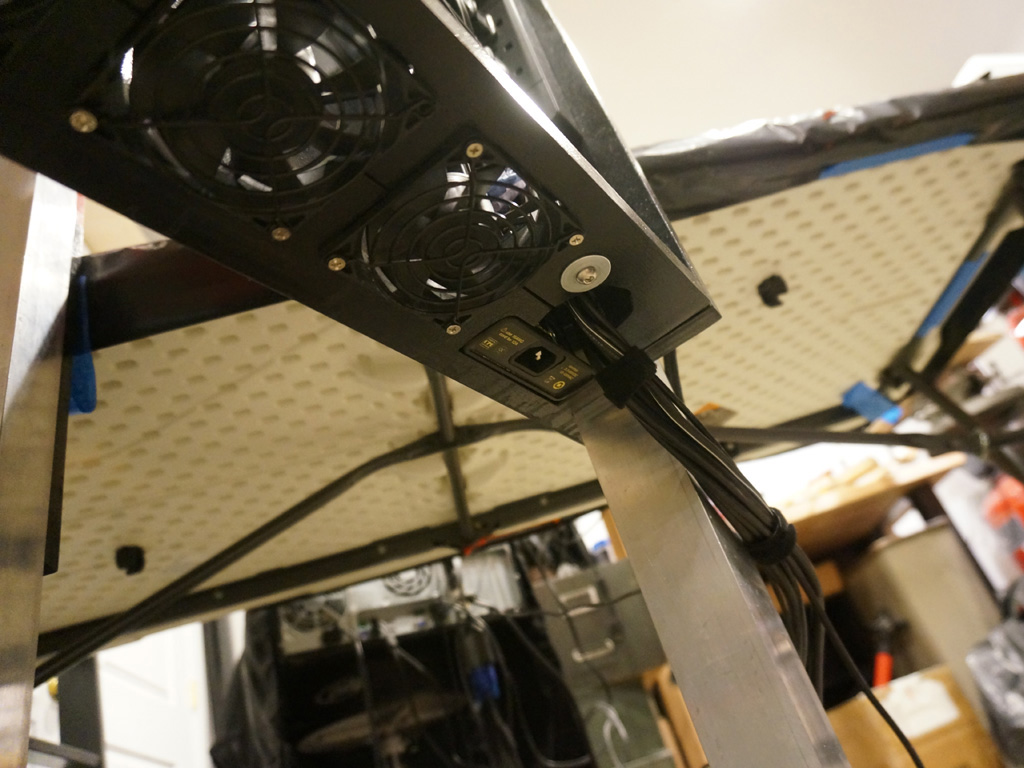
That cable bundle is massive... and that's not all of it yet.
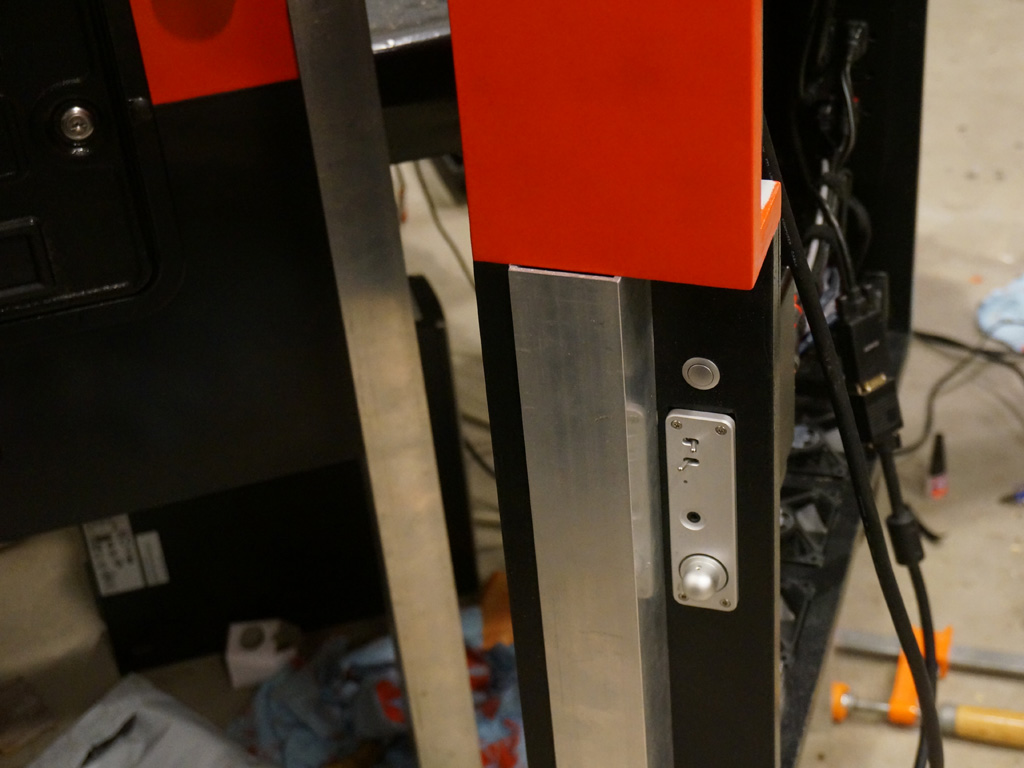
I like the look of this behind the rear leg - the amp face showing gives you volume control and a headphone jack,
and it and the power button kind of go visually with the bare aluminum legs.
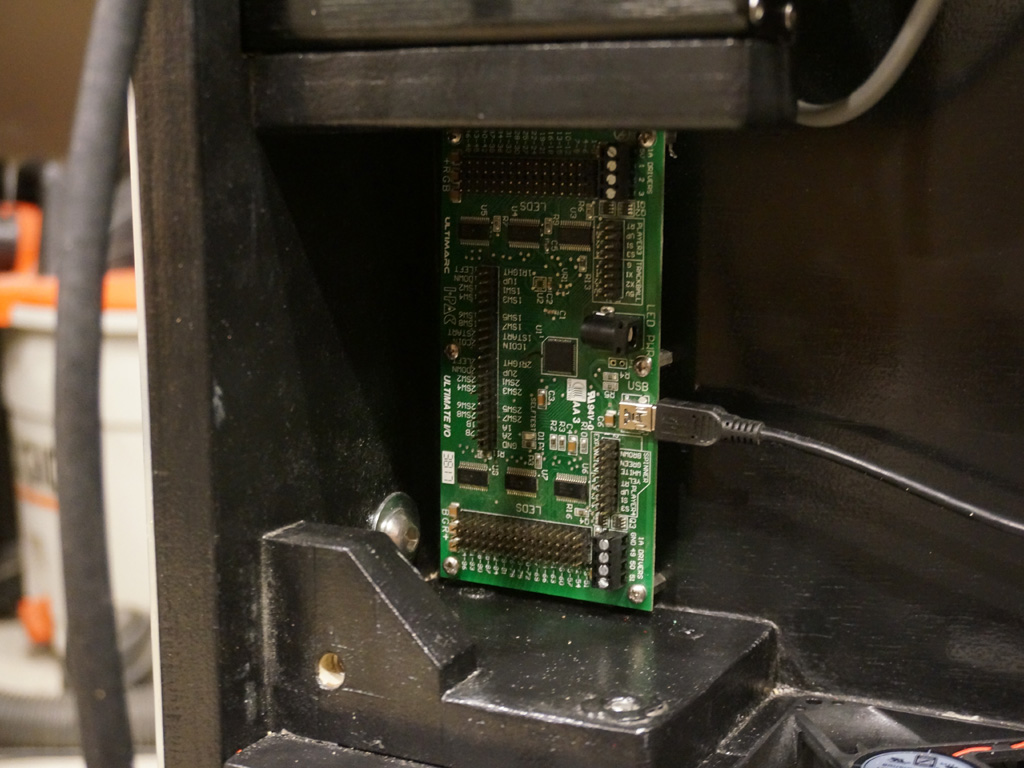
I installed six standoffs and mounted the ultimarc U/IO encoder board in the lower left corner of the rear cabinet.
That lower left most standoff was pretty tricky to install, being right near the corner and blind behind the corner brace
that the rear access hatch bolts into. I had to get creative there and make myself a very long simple burr drill
bit out of piano wire that I could fish through the mounting hole in the brace and flex into position... and then it took
another hour or so to battle that screw into the standoff in a space too short for even my stubby screwdrivers.
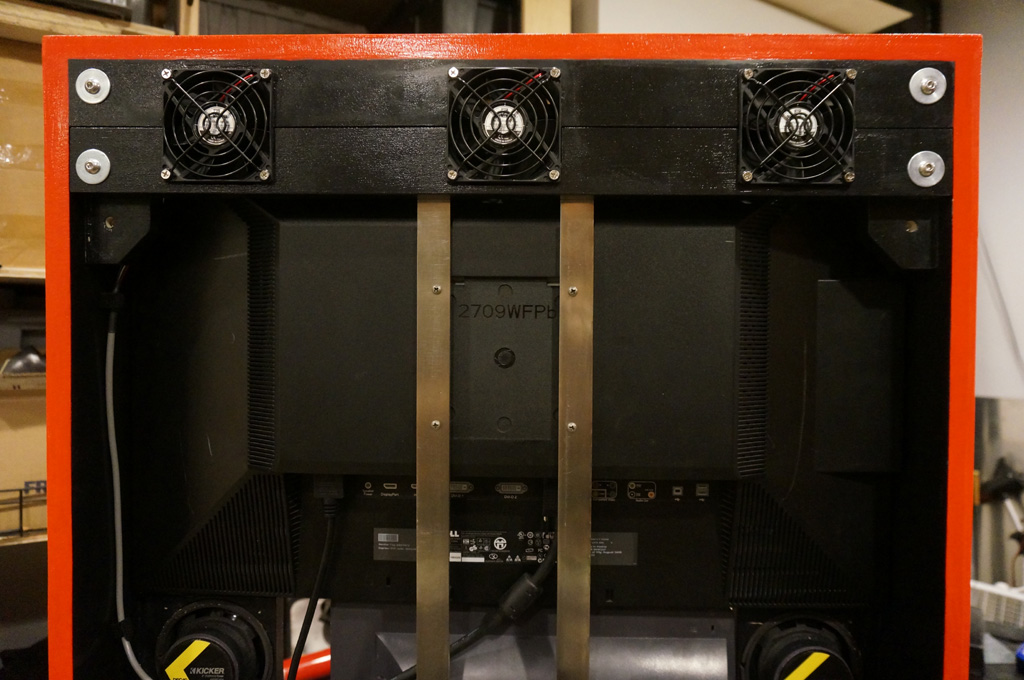
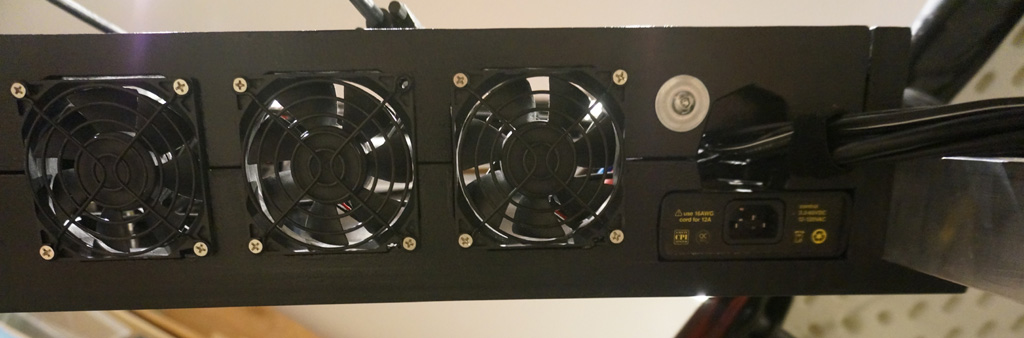
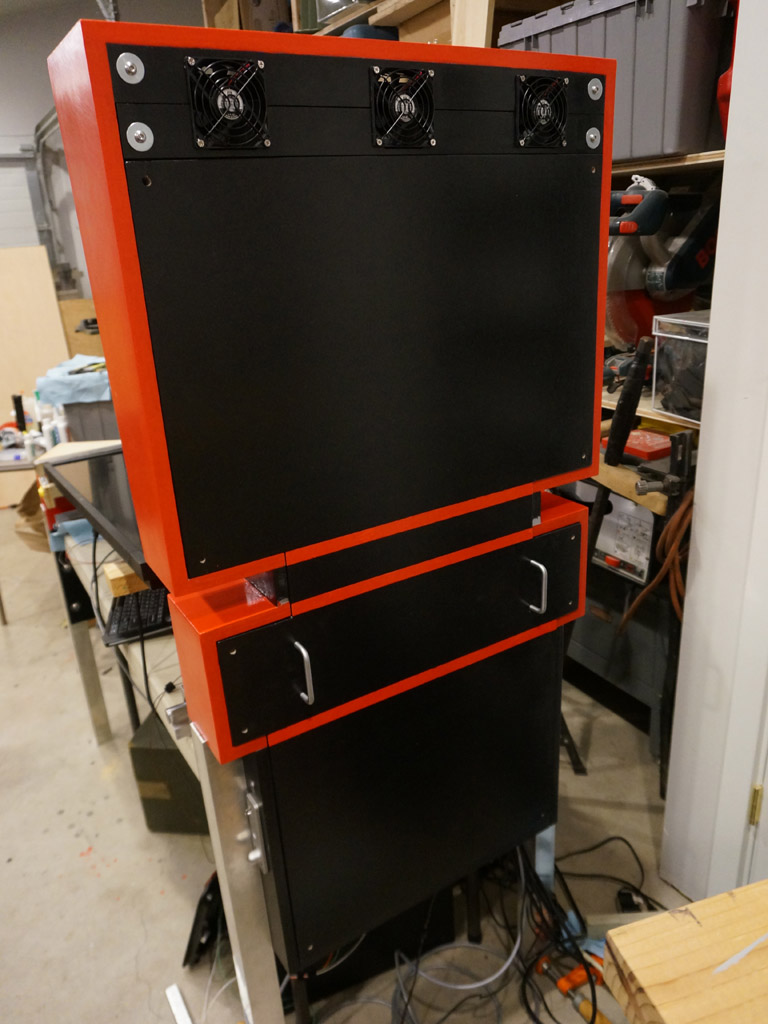
The backbox exhaust fans are now properly installed with quick disconnect connectors and grills.
So now it's time to MOCK IT UP.
I wrapped the whole thing around a 48" folding table I've got.
The real thing should be 42" here, so there's about 3" of dead space on both ends of the playfield in this mockup.
The TV is just sitting on blocks of wood on the table.
I built a temporary frame to hold the pinball buttons so I could play it.
And by "play it" I mean work on the software.
... well, and play it.
The back hatch goes in like so.
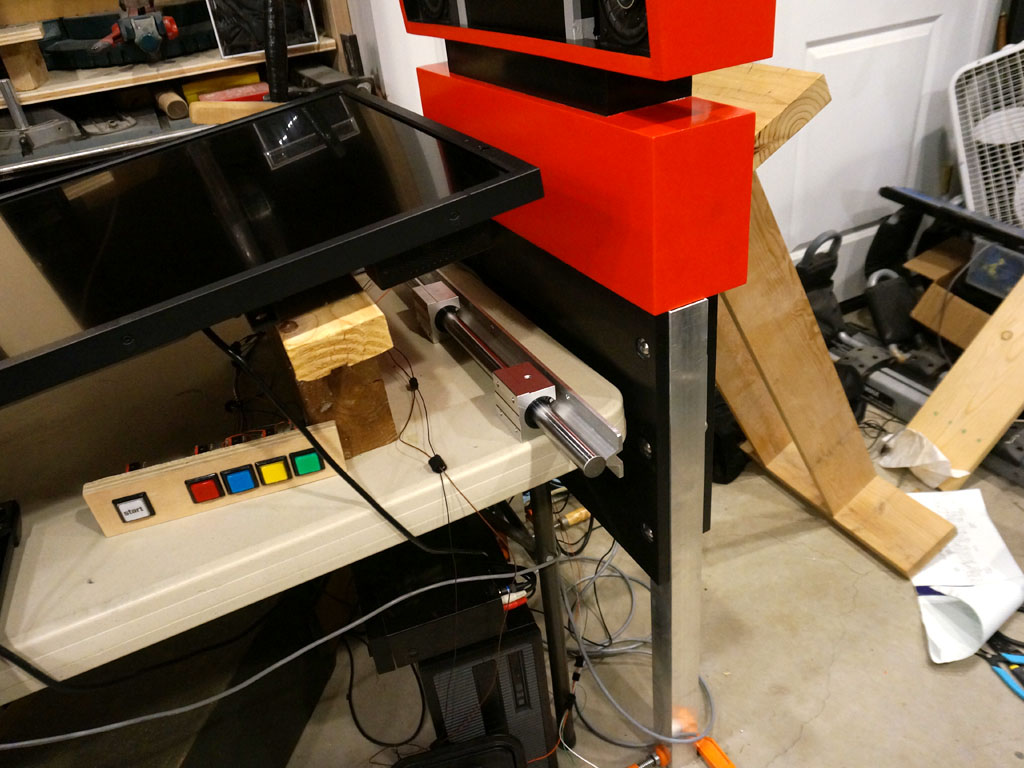
These 25mm linear rails will be the slides for the driving mode control panel.
The point of the mockup, though, is to be sure everything works.
IT'S ALIVE! Sort of!
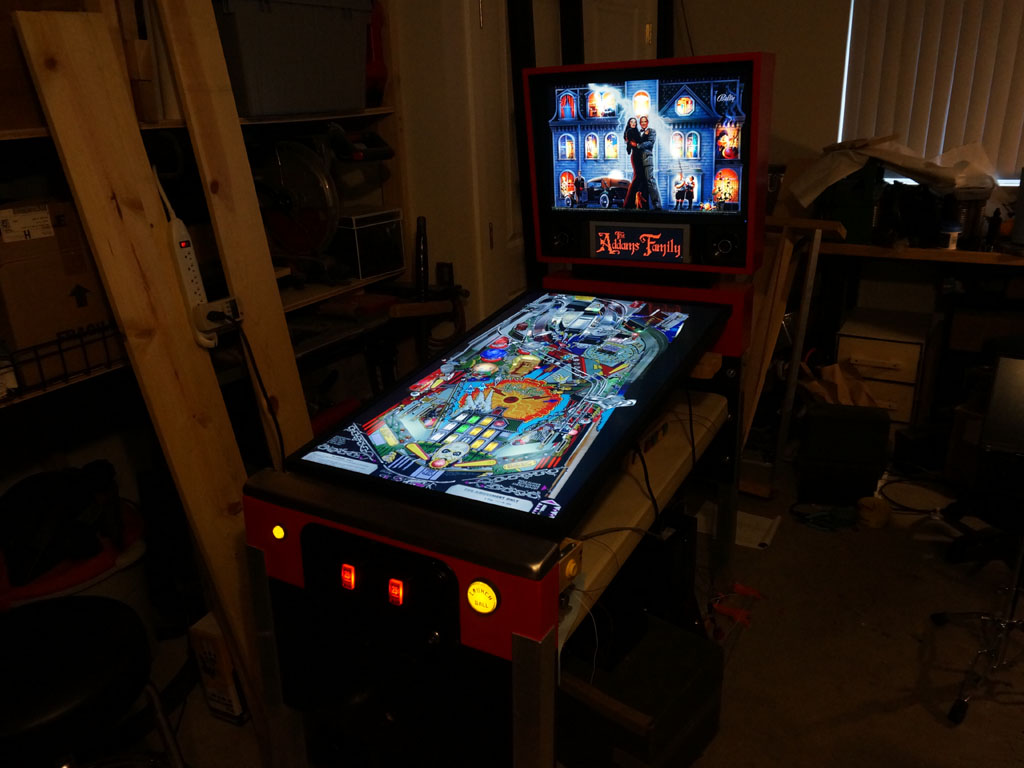
Here's how it looks running a table. Here, the middle monitor is being an orange plasma dot matrix display.
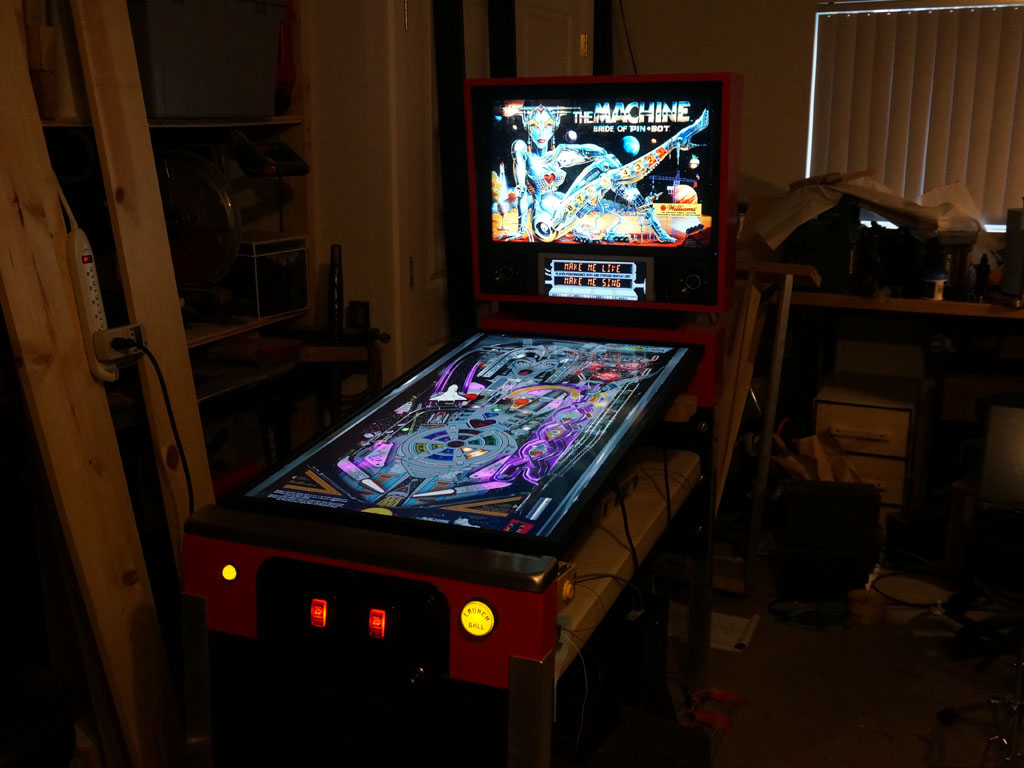
On other tables, the middle monitor can be 16-segment displays, or more of the backglass, as appropriate.
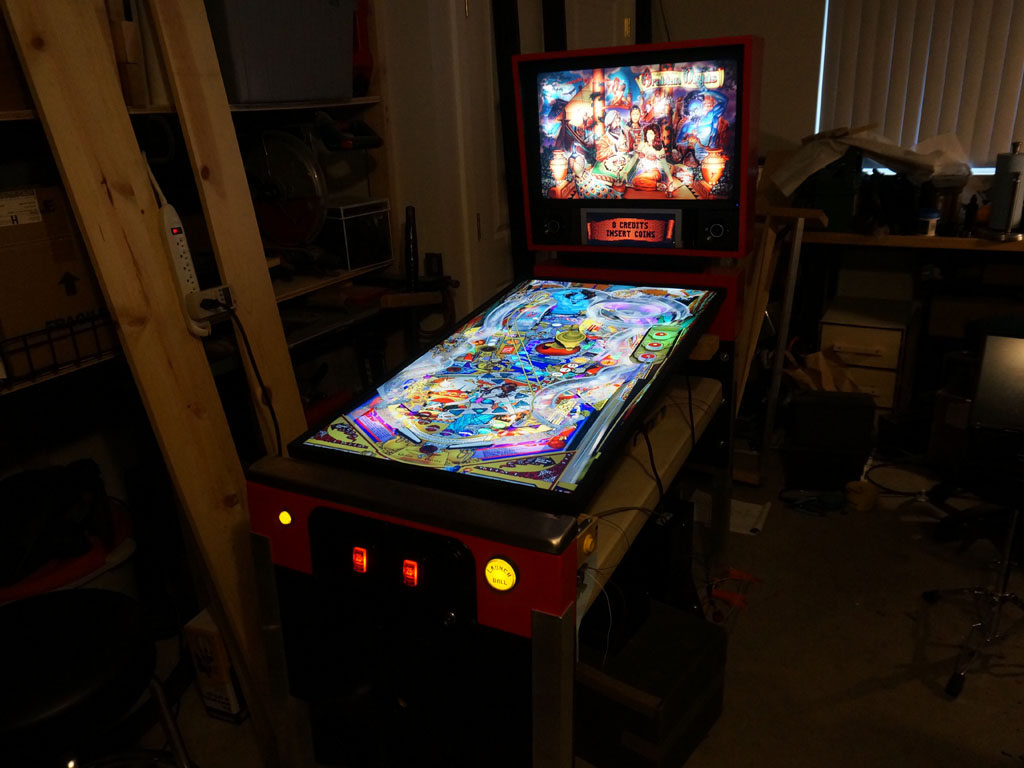
A real pinball table is cool, but Shapeshifter aims to be most of all the good pinball tables in one box.
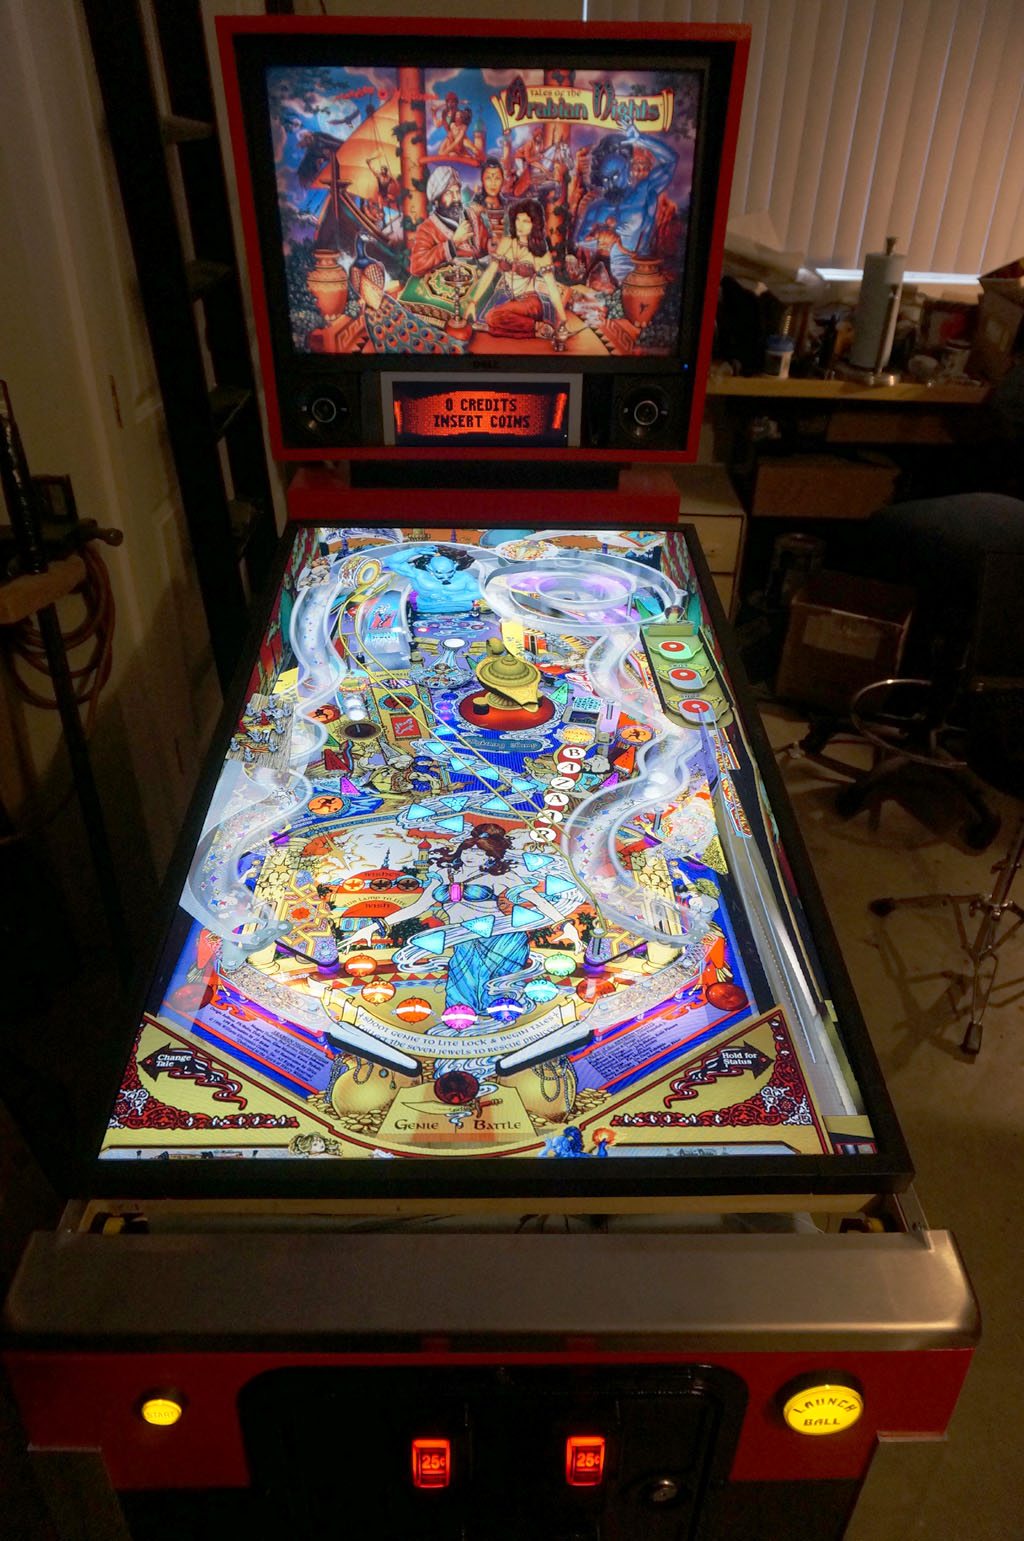
From a player's eye view, it looks like this. You wouldn't mistake it for a real table, but it's pretty good.
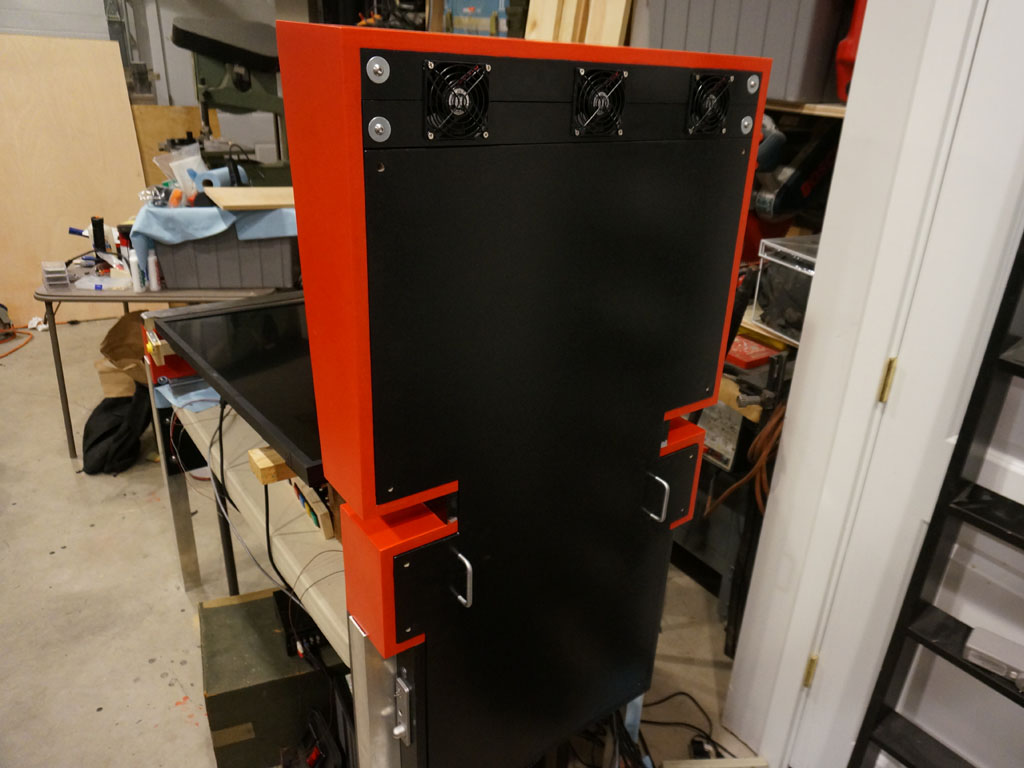
One thing was really bugging me though. It doesn't look cool from the back.
I thought the black hatch would look better than it did. So I put three red stripes on it.
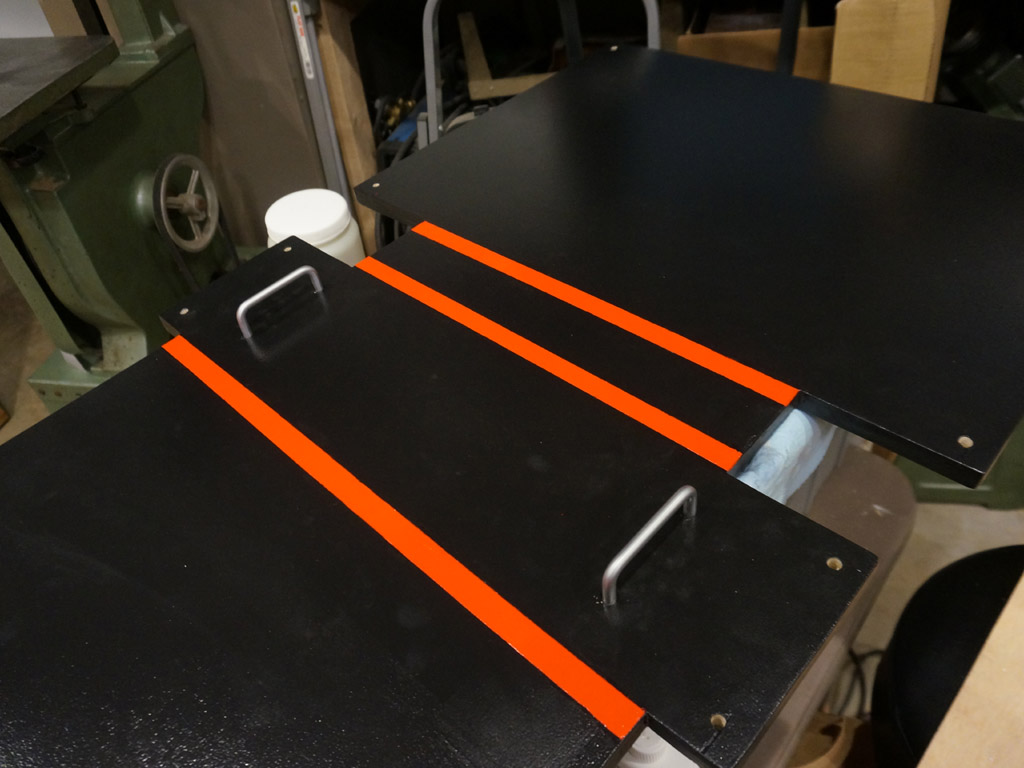
By itself, it looks dumb. But if you put it on...
it carries the shapes across, and now I'm satisfied that it looks cool from the back.
Continue